
Add BeebEm Games
Cliff Notes > Steam Deck
Add BeebEm games V2
Why Version 2? There are a couple of reasons. The first is that, running through version 1 of the tutorial I was noticing too many errors. It was just BAD! :( It's SO embarrassing that I had to state that early on, to get it out of the way
The second reason is actually one of the things that I love about the Steam Deck - it's not frozen at a given point in time. Valve keep modifying it - most often improving it... and this is the case here. Steam on the Steam Deck has improved to a point where it makes more sense to bring the "graphics" aspects forward, to before the "controls" section. You'll see what I mean when we get to it...
Recap & Expand on Launch Options - Some theory
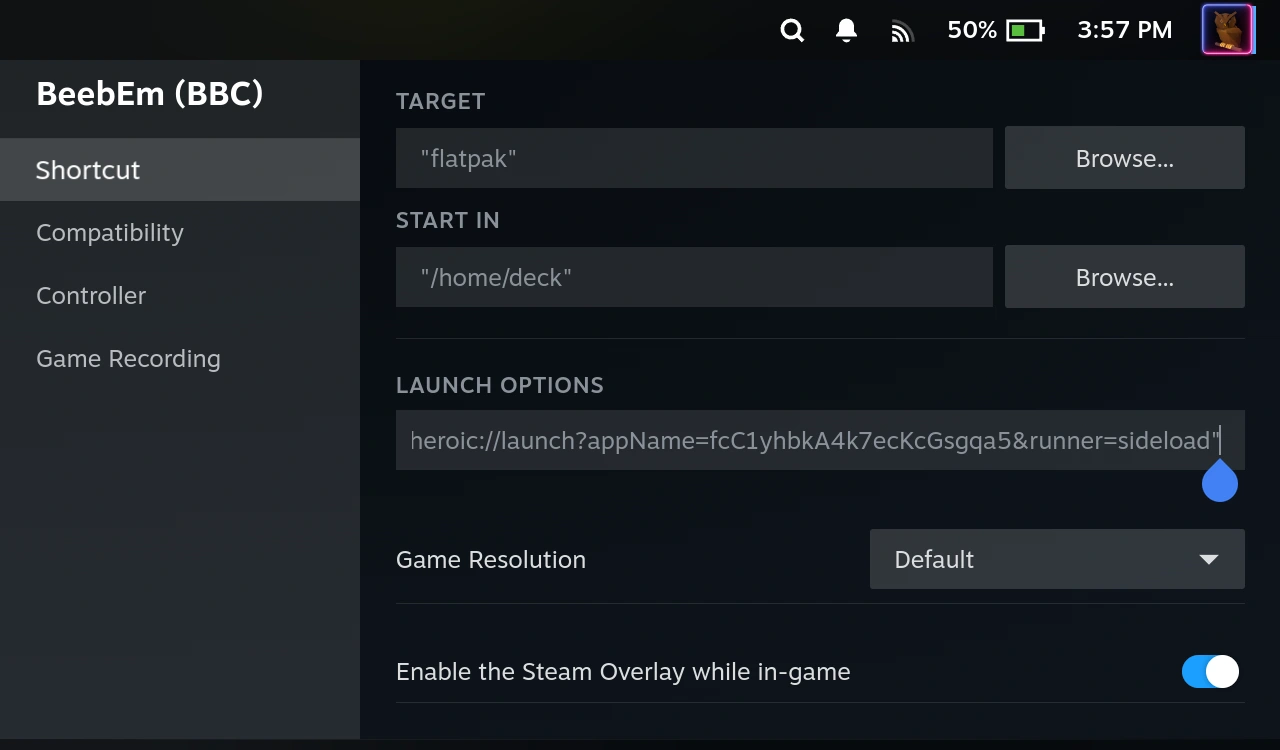
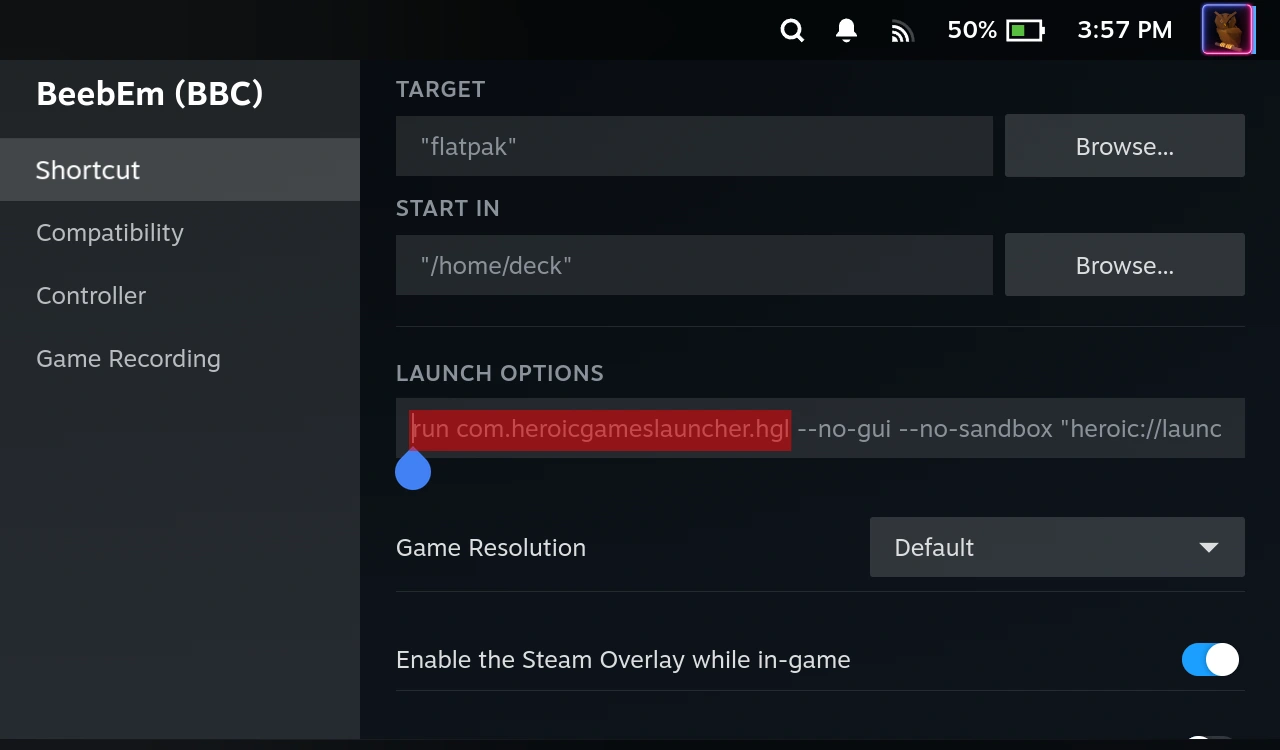
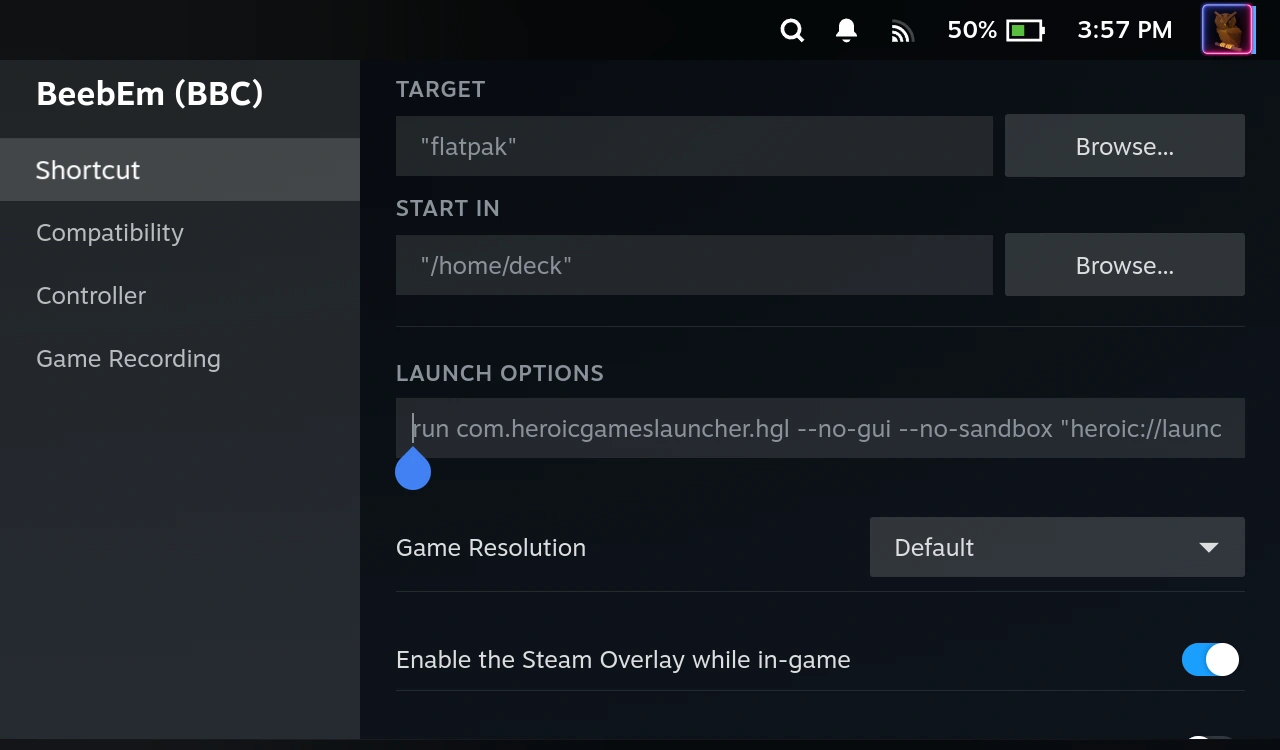
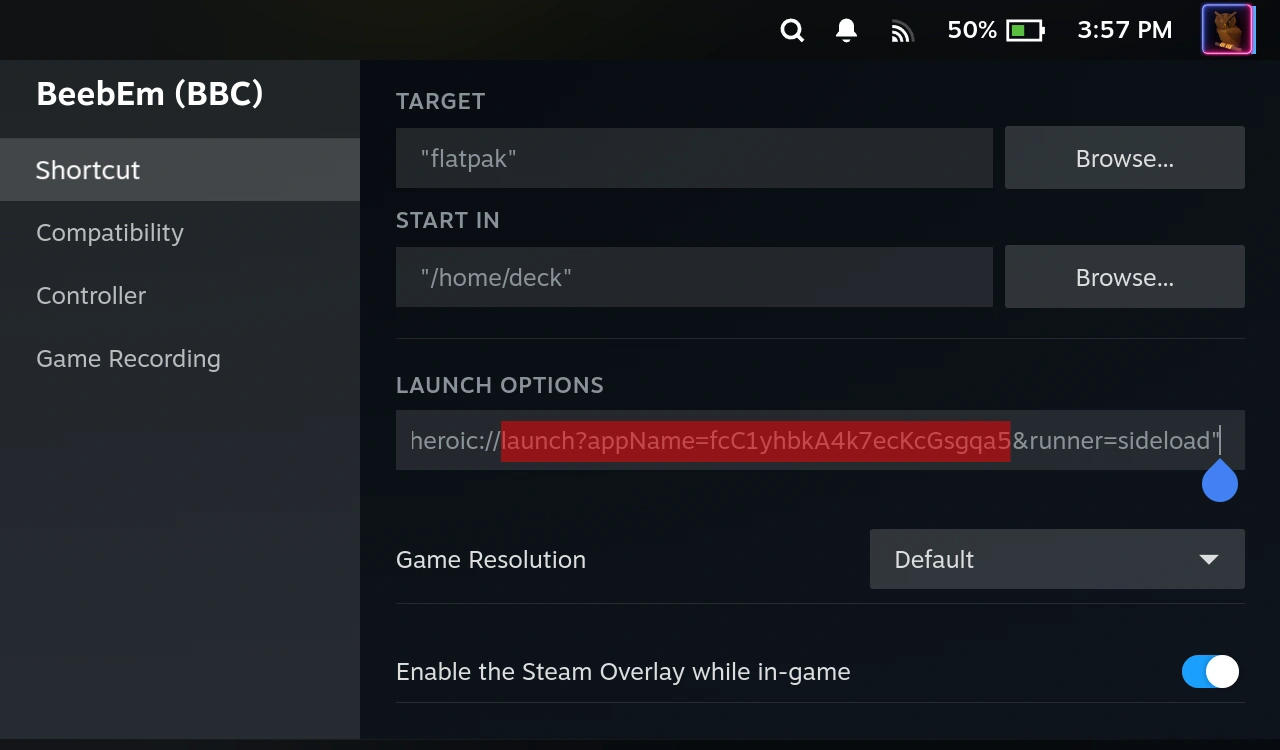
These two screenshots are here to display a couple of things. They are from before I started these tutorials - in fact, from before I had even gotten BBC games working, at all!If you look closely you should be able to see that the "silly number" section of the "Launch Options" is different to the one in the previous tutorial. This demonstrates that each installation of BeebEm is likely to have a different set of silly numbers, so one shouldn't pay TOO much attention to them.
The Second reason for bringing this up again is to show the sequence of events that happens when you elect to run this "game" from within the Steam GUI.
First we run the "TARGET" application - flatpak...
We pass this a long "LAUNCH OPTIONS" string that tells flatpak to run the Heroic Game Launcher...
I started out by adding some games to a folder in a known location and then adding the path and filename of a game to a BeebEm shortcut to get it to run. So for every game I had this sequence:
flatpak
Heroic
BeebEm
Game
Heroic, in turn, examines what's left on the Launch Options string and runs BeebEm by it's "silly number"...
But it gets worse! Because, you see, some of my games run best on a BBC 'B' while others run better with a 65C02 co-processor, or on a BBC 'Master'... Now then, BeebEm offers a solution to this in the form of "Preference" files. So very quickly I was trying to get the Steam Deck shortcuts to run:
flatpak
Heroic
BeebEm
Preference File
Game
for each game. Except... that I couldn't get it working properly. There was something messing it up, which irked me no end! After chatting with a nice chap called "chrisn" (one of the BeebEm maintainers, full name probably Chris Needham) it seemed that we ought to try and cut down the number of steps being taken - and that's the approach I have taken.
The new paradigm
The appropriate steps now are:
BeebEm
Preference File
Game
which starts up something like 7 seconds faster AND both the Preference File and the game works! So, let's start putting it all together. To begin with, let's nominate a home for games to live in, and put some there!
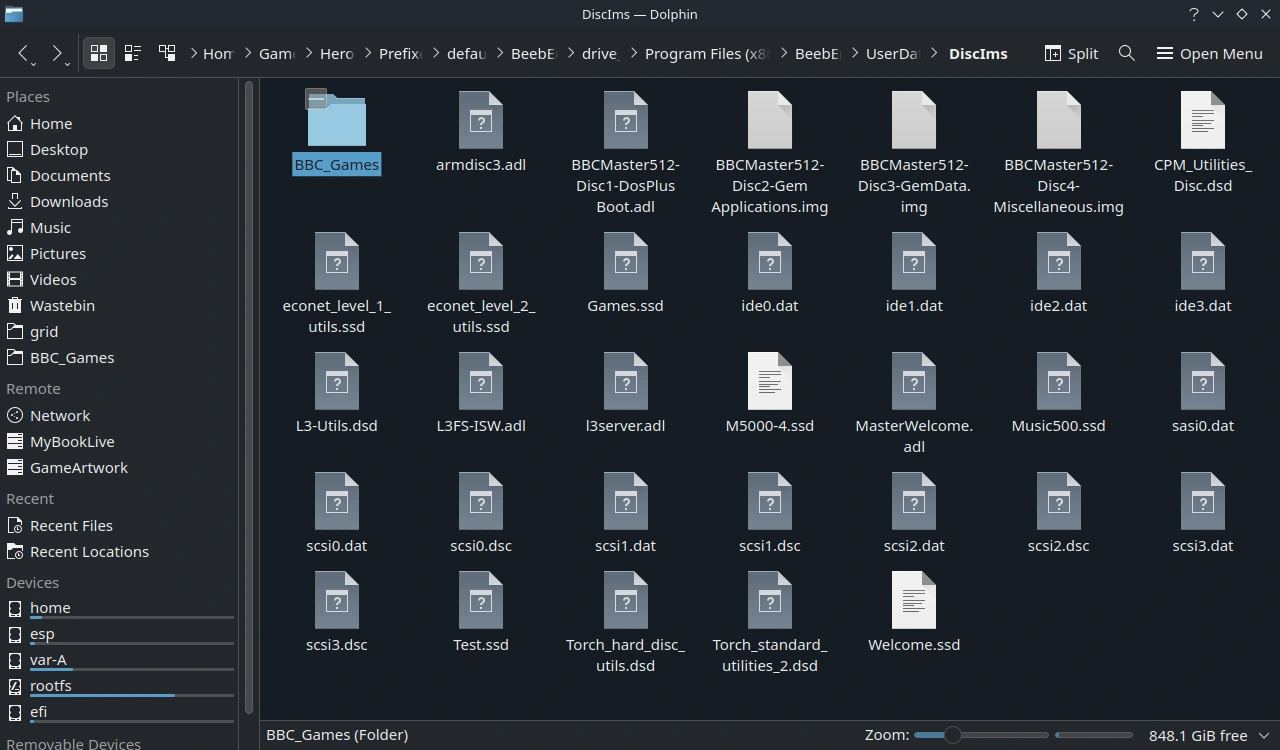
In Desktop mode, let's use the Dolphin file manager to create a new folder within the BeebEm installation. Starting at Home, navigate to:
>Home>deck>Games>Heroic>Prefixes>default>BeebEm>pfx>drive_c>Program Files (x86)>BeebEm>UserData>DiscIms
Once you're there, create a new folder called "BBC_Games".
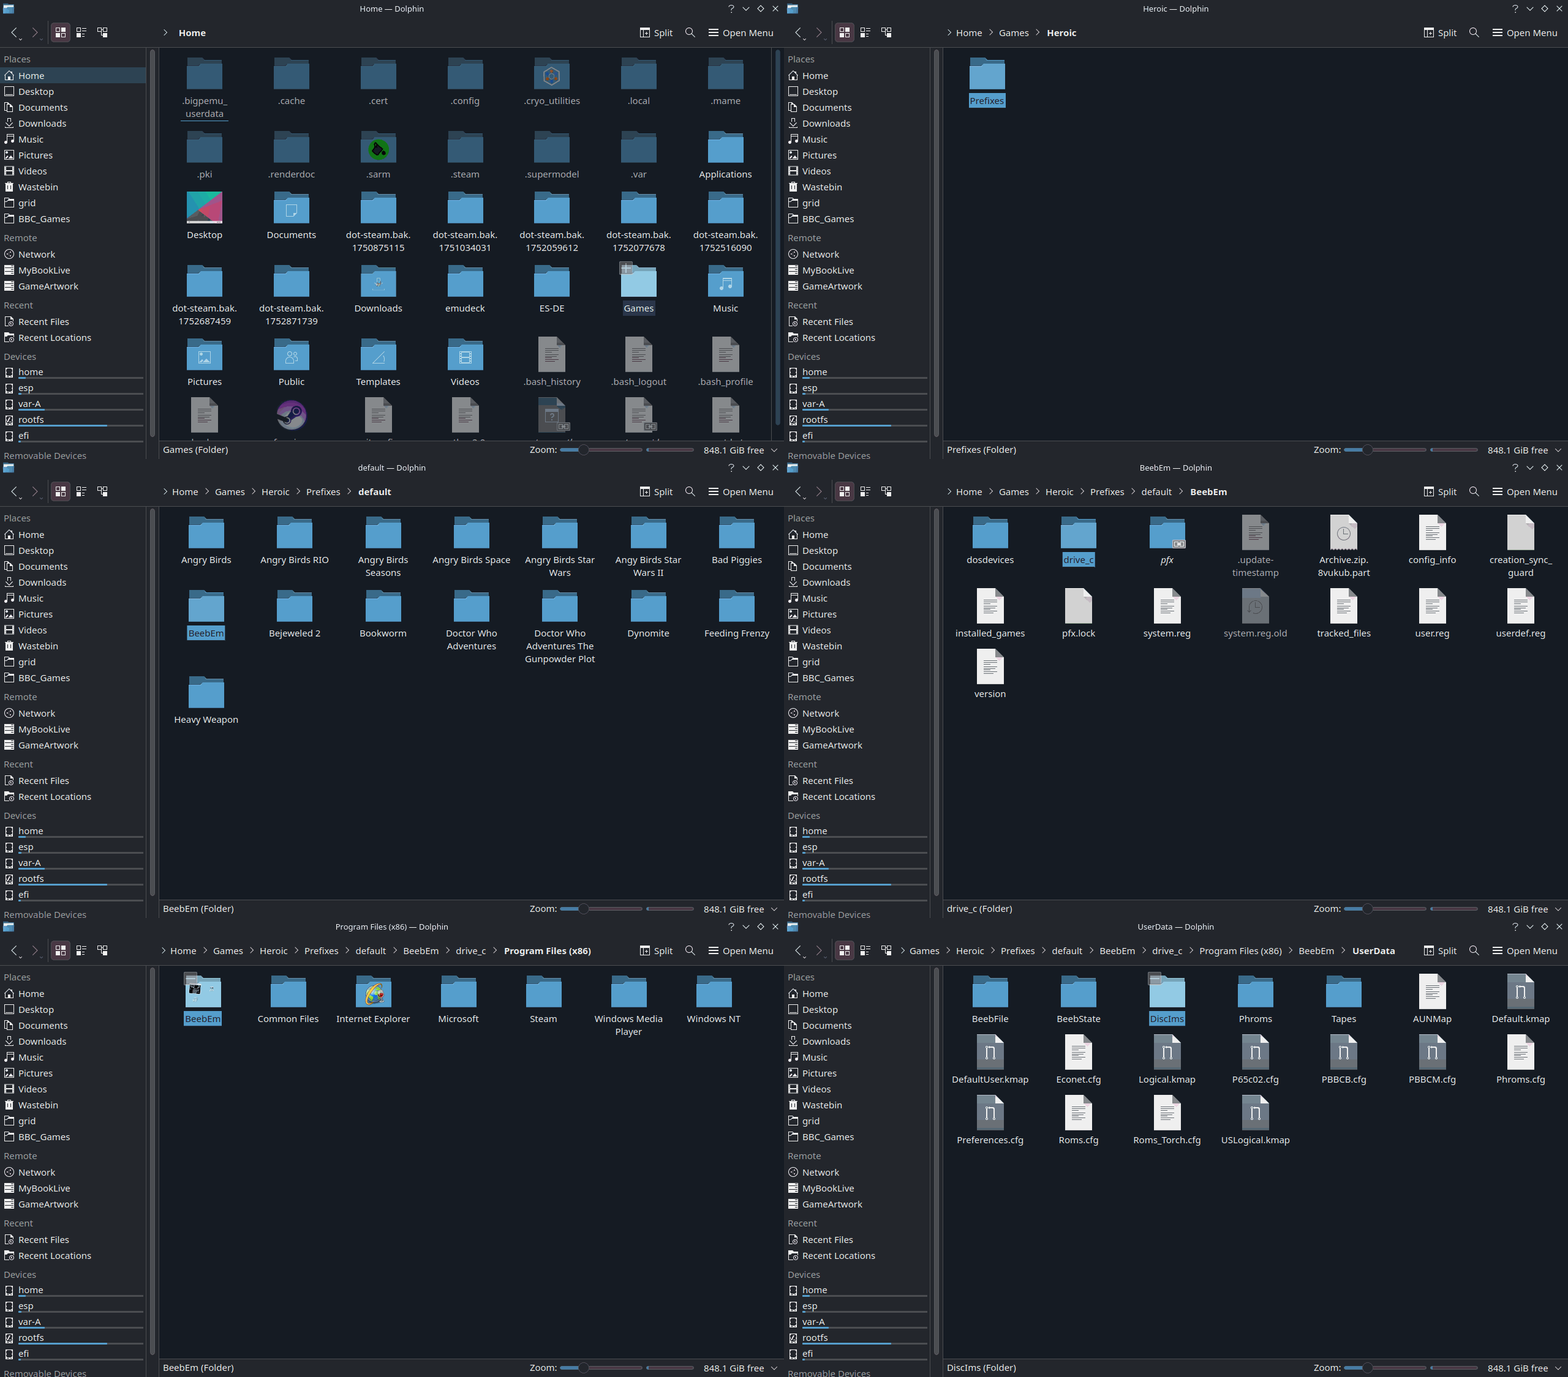
Place one or more game files
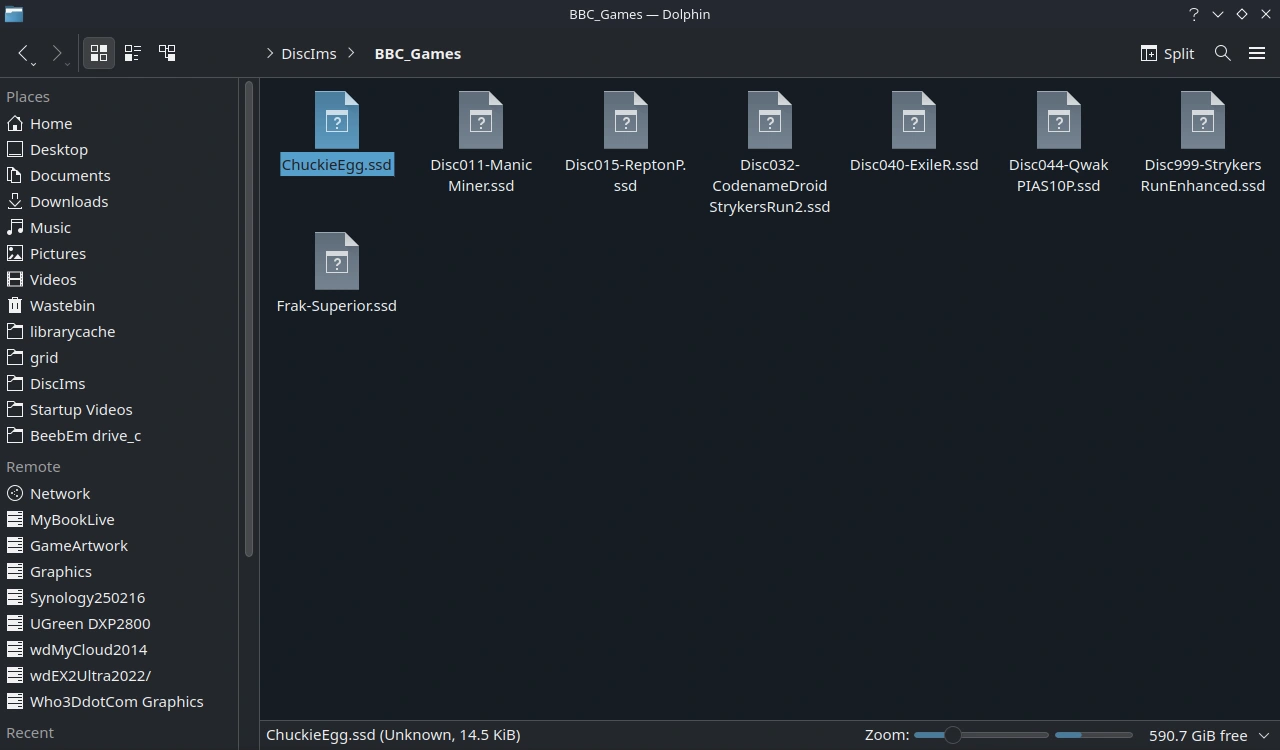
Put your games in the BBC_Games folder. You could start with just one to test, or a few, or your whole collection. Here's a smattering of games that I decided would be a good sample to begin with.Now close Dolphin to return to the Desktop.
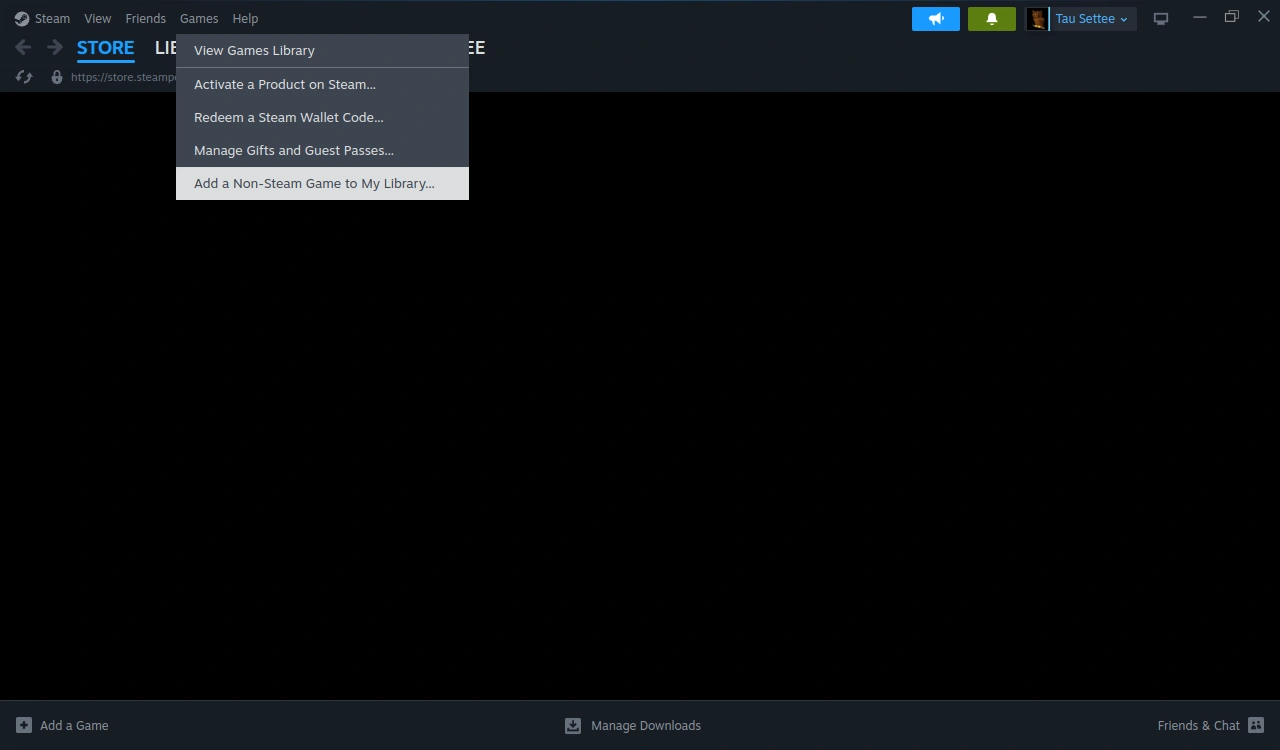
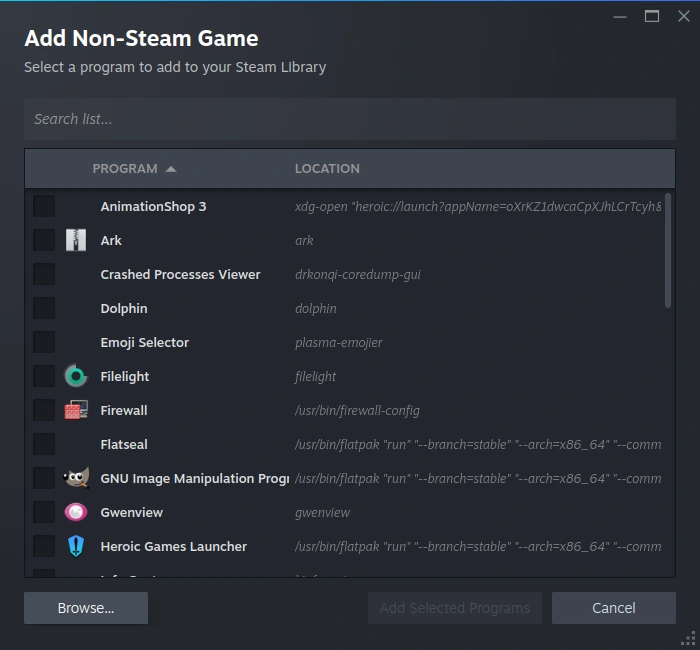
Open Steam on the Desktop, and choose "Add a Non-Steam Game to my Library..." from the "Games" menu.
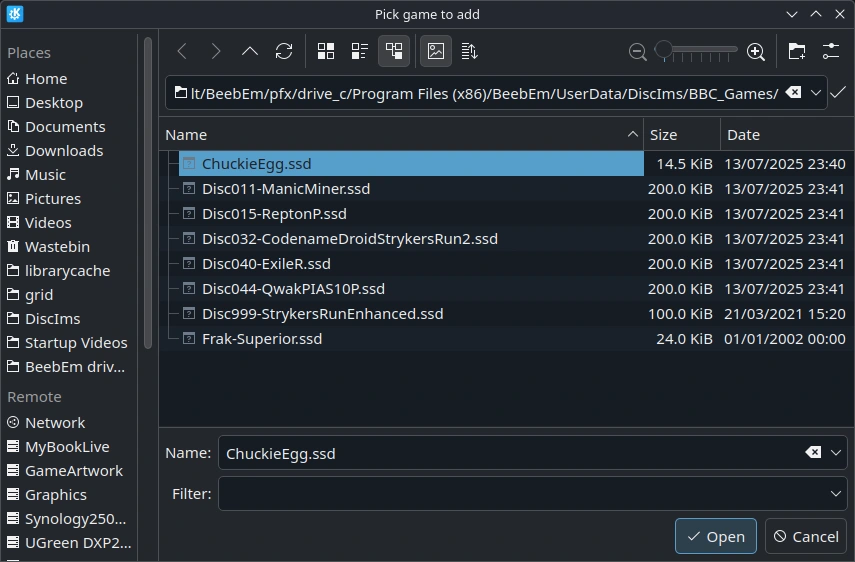
Choose the "Browse" button here, to go searching for your game. If you're following my choices then you should end up pointing to:
/home/deck/Games/Heroic/Prefixes/default/BeebEm/pfx/drive_c/Program Files (x86)/
as shown below.
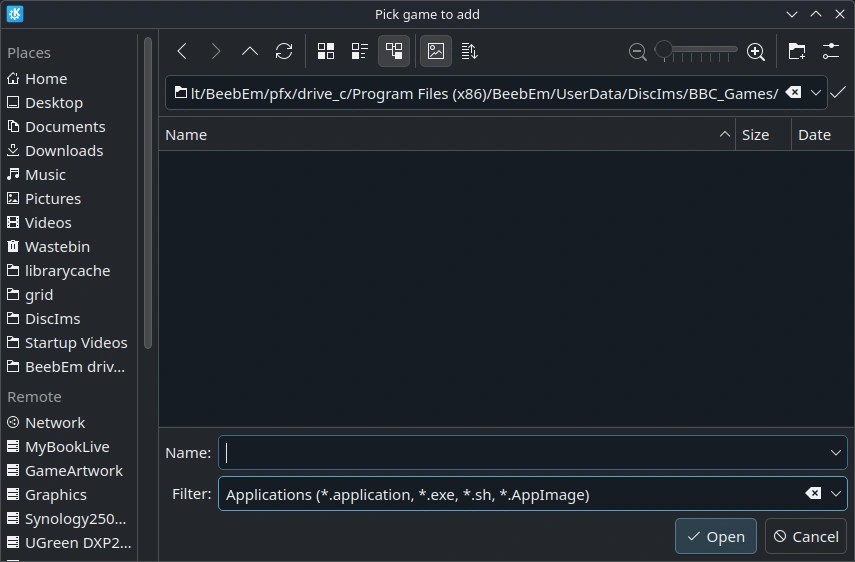
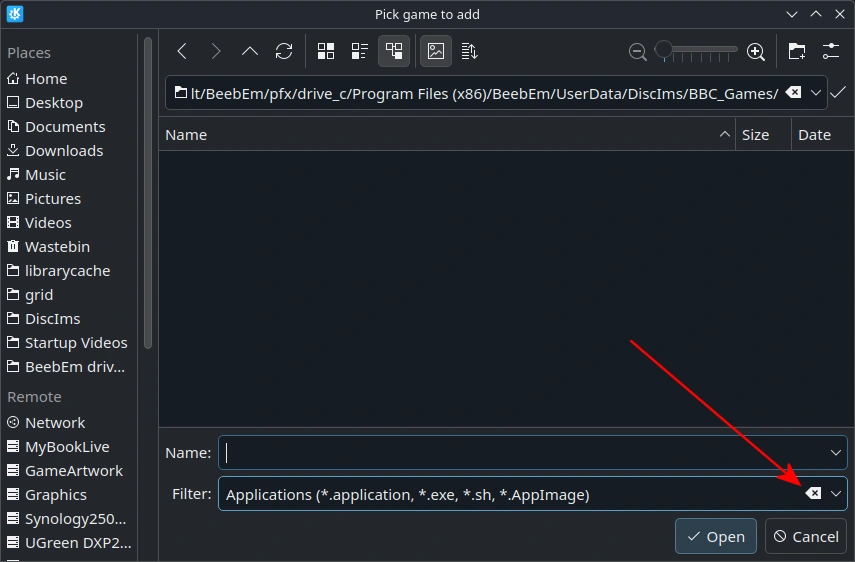
We can't actually SEE any games files here at the moment, because there's a filter limiting the files we can choose. Click the "clear filter" box (I've drawn a red arrow pointing at it) and you should be able to see your files.
Choose the game you want to add (for this tutorial we are using ChuckieEgg.ssd) and click "Open".
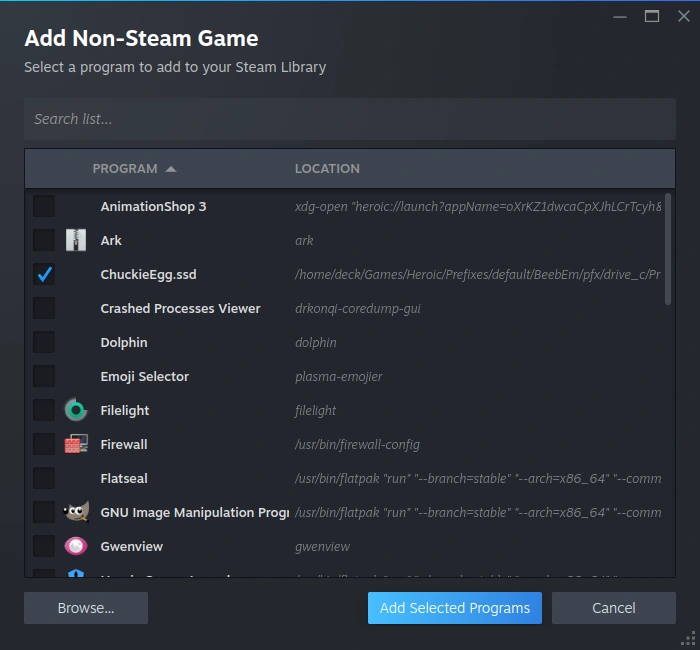
You should now see that your chosen game is in the list, and selected. This is, of course, a great place to add multiple games if you have the files ready - but I'll just work on Chuckie Egg for now. Let's go ahead and click the button labelled "Add Selected Program".
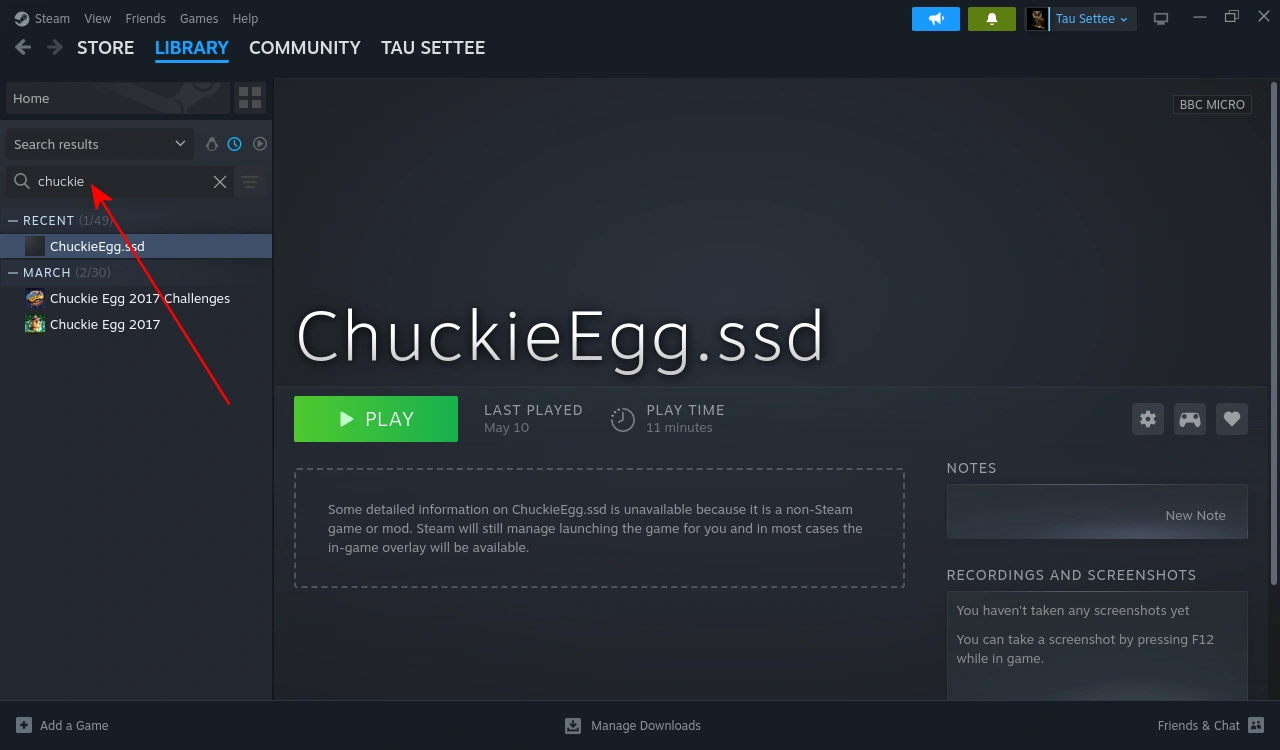
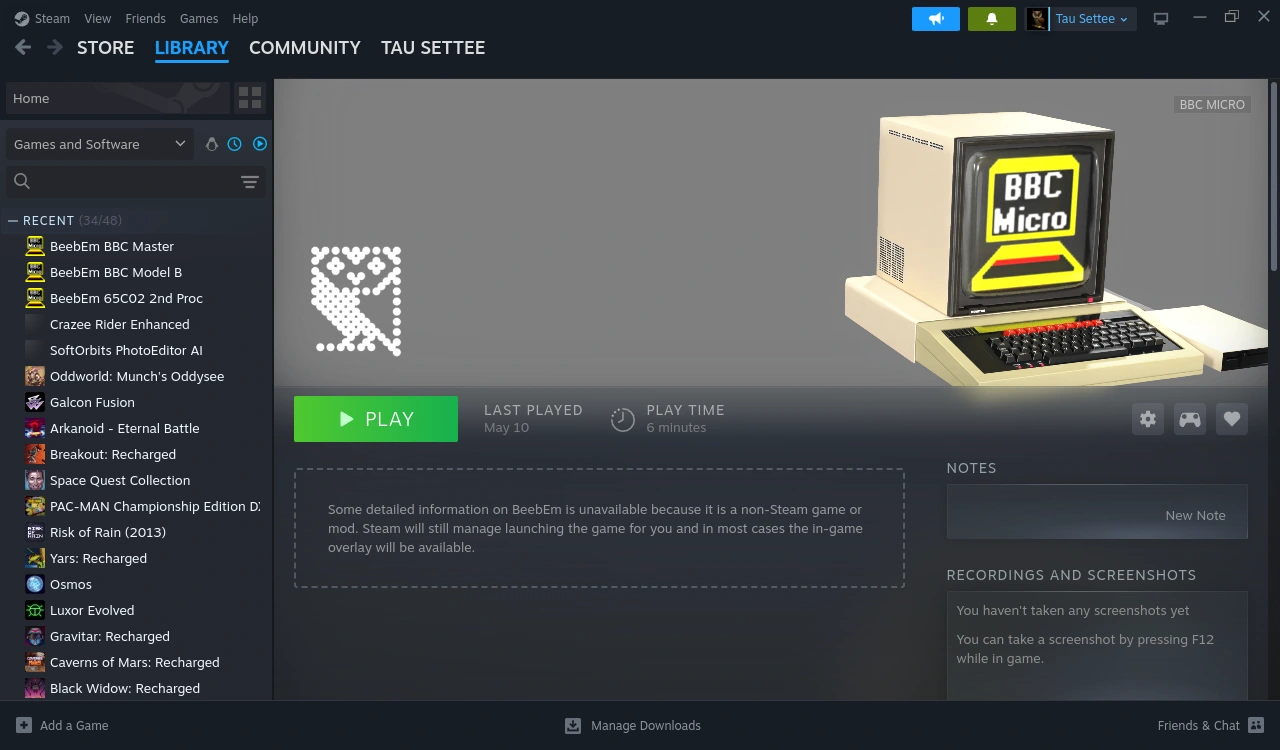
We arrive back at the Steam Desktop App - but the game we've just added isn't visible. Type "chuckie" (for this tutorial) into the search bar and our game will show up in the list. Select it.
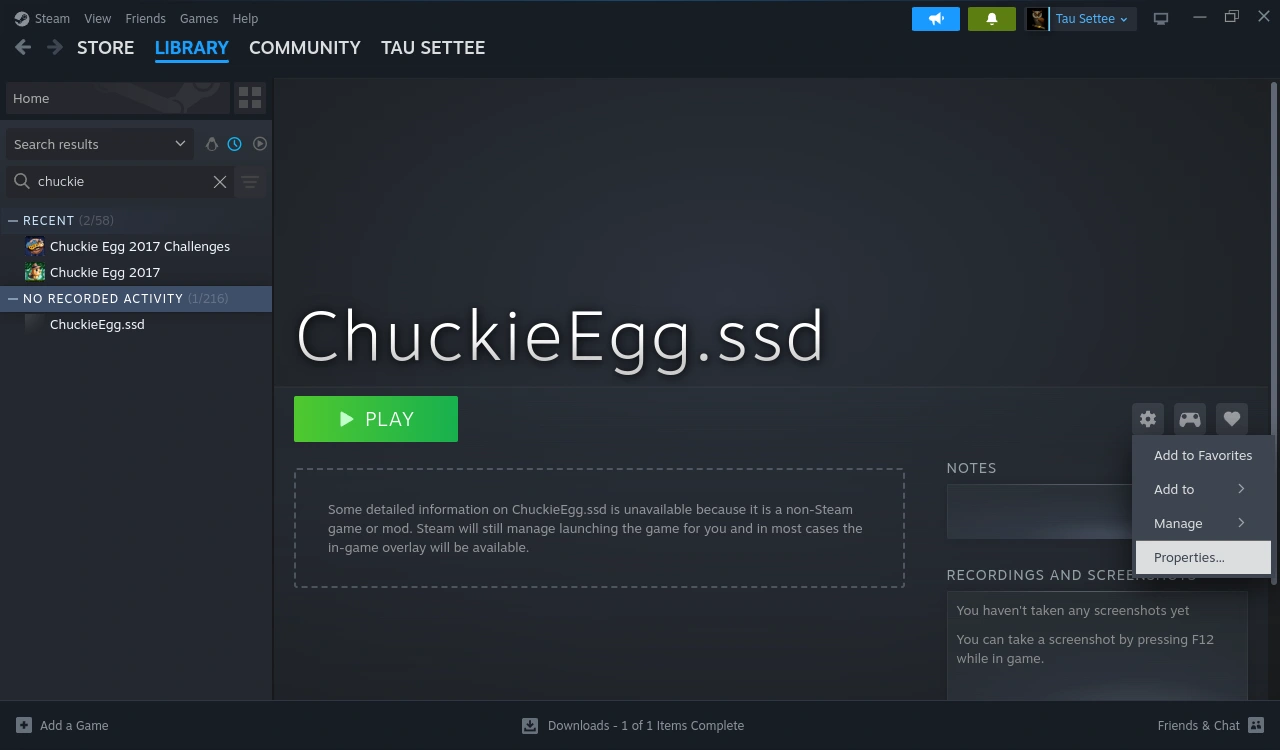
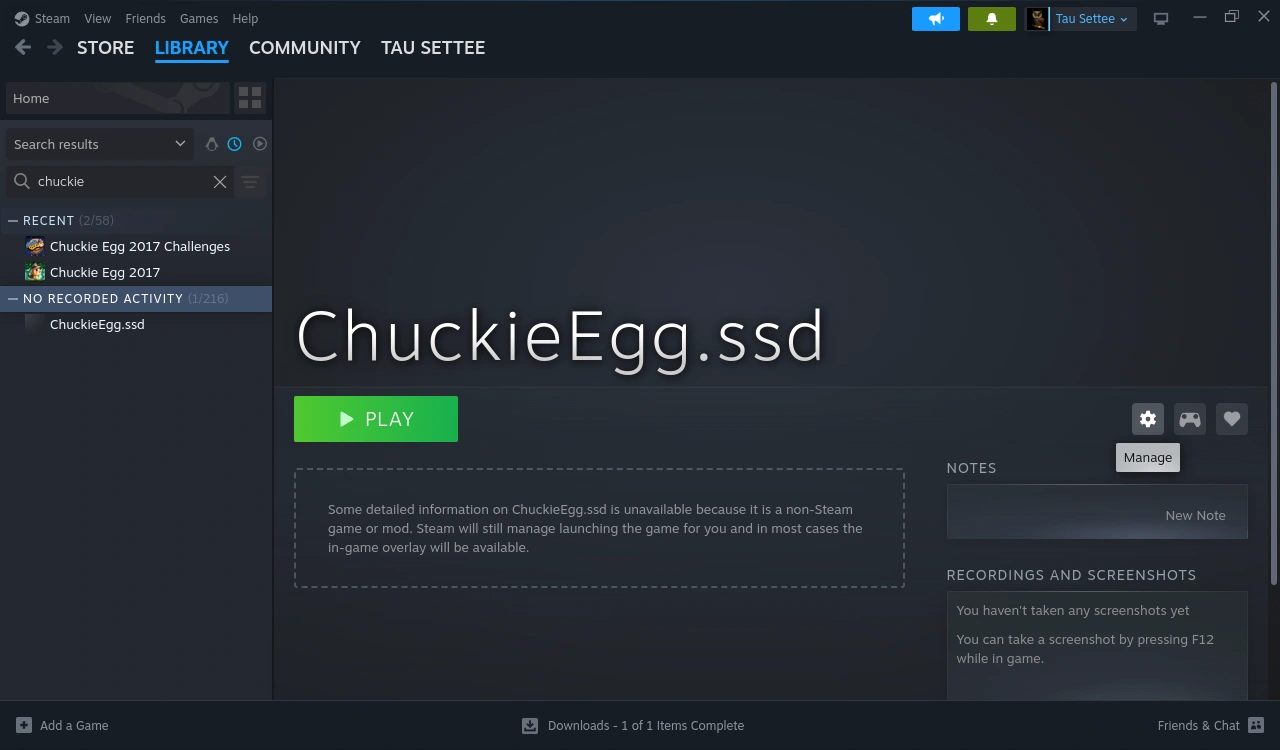
Now that your game has shown up, select it and click the "Manage" cog and select the "Properties" menu item.
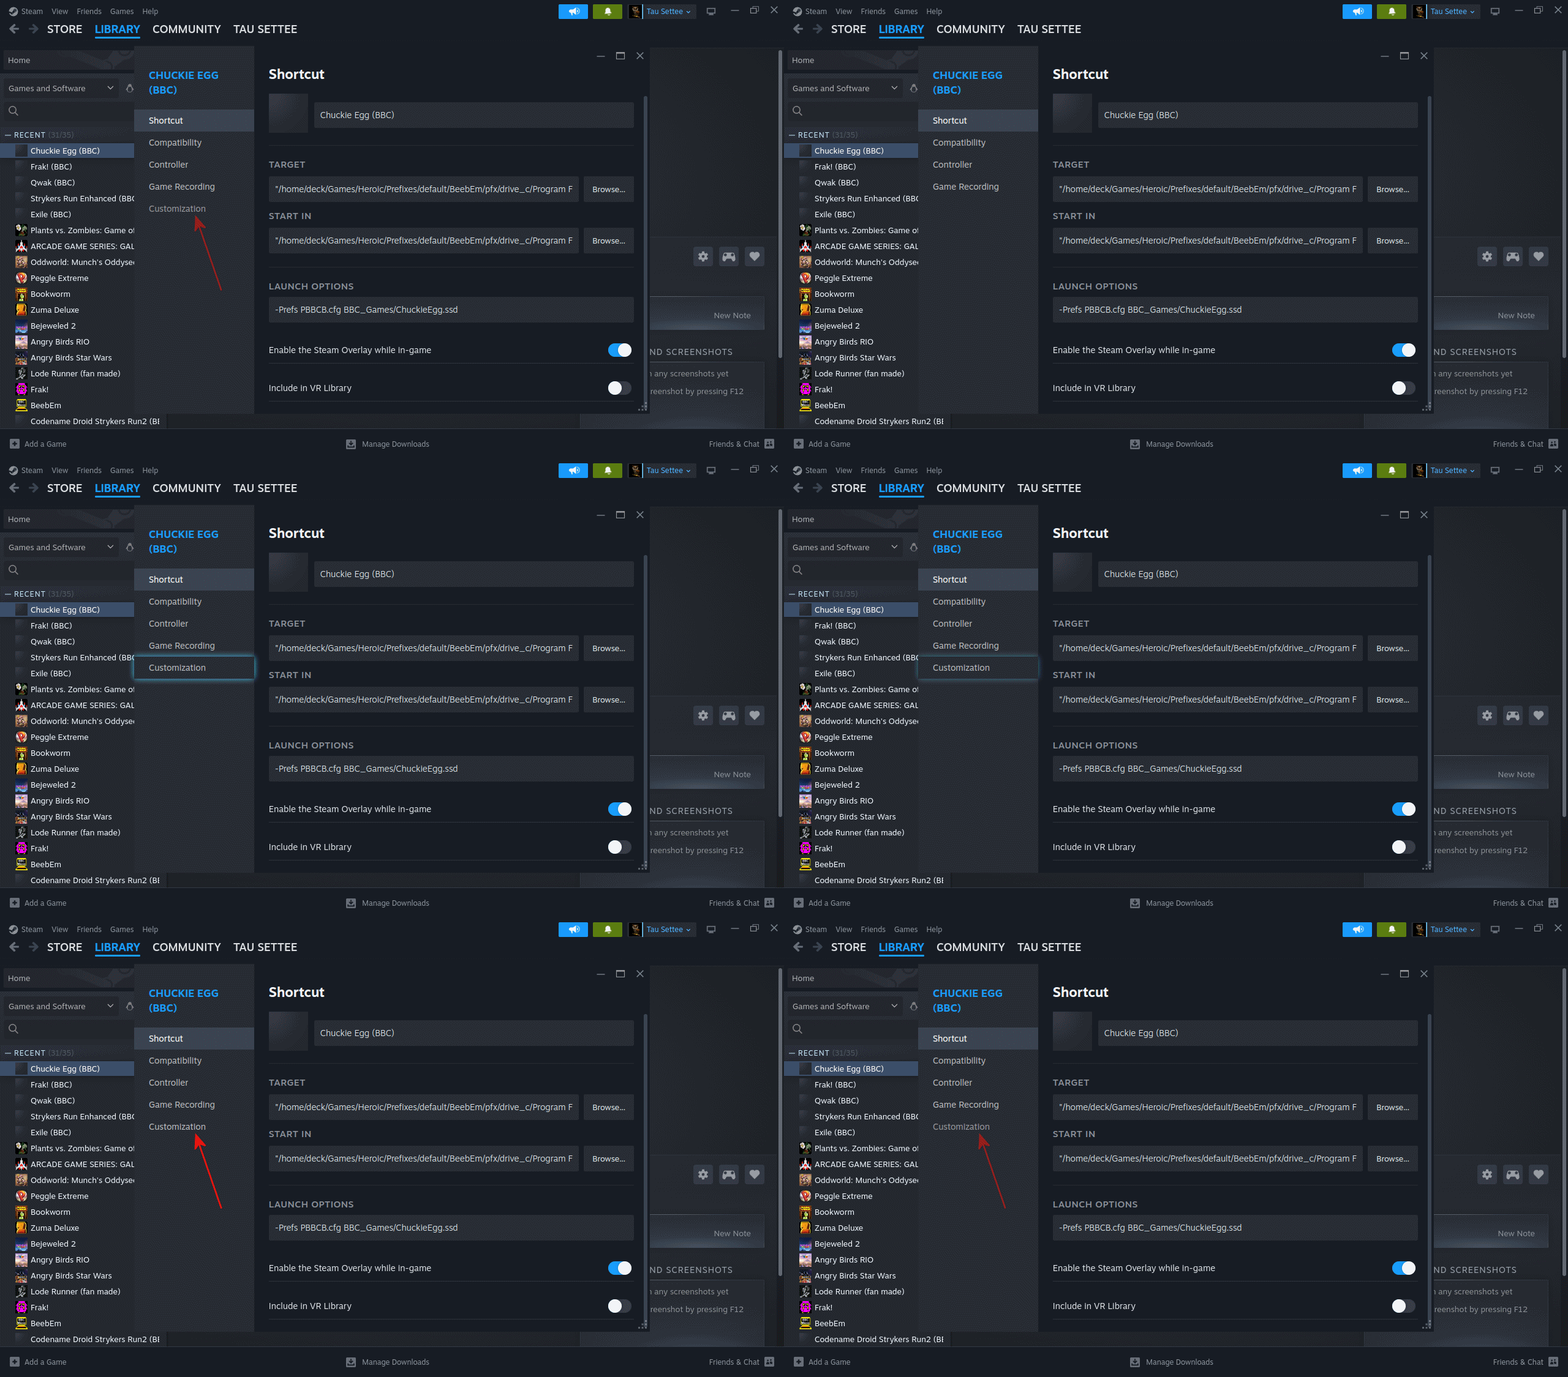
The "Properties" window opens. I want to quickly point out a change in the way Steam works. This window used to have a menu down the left side which comprised of just 4 items:
Shortcut
Compatability
Controller
Game Recording
This has since been drastically improved by the addition of a 5th menu item - "Customization". This extra item drastically improves the adding of Non-Steam programs to a Steam Deck, and I am restructuring the following tutorials because of it - since we no longer need separate programs to add custom graphics to our Non-Steam programs. So we'll go on to custom graphics before sorting out the controls.
The Shortcut Window
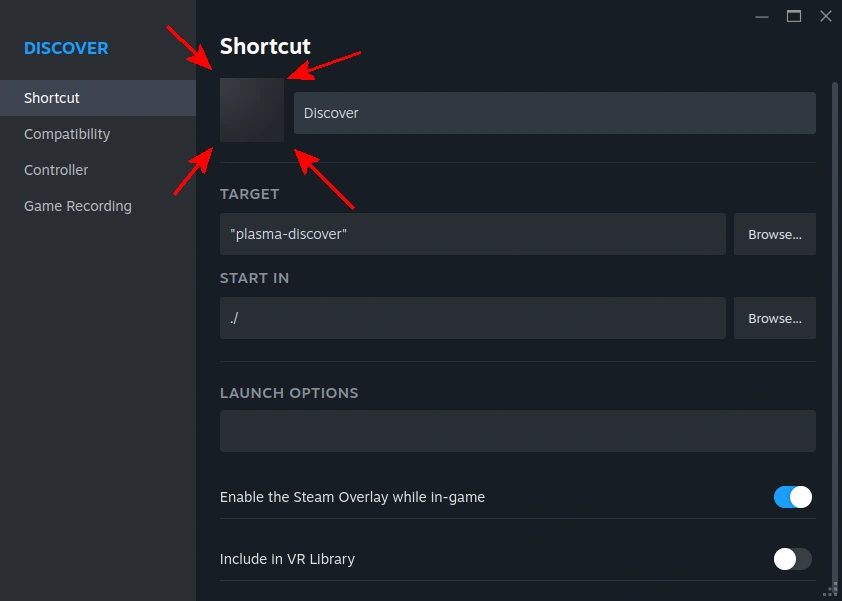
Technically this probably ought to be part of the "Graphics" section, but as it presents itself here I'll deal with it here. You may notice a rather boring square in the top left area. Here - let me draw some arrows to it.This is where you should be able to click to put an icon for the game we're adding. Good luck, In my experience the icon only shows up after closing this window and opening it again. So don't be concerned if it doesn't show up here after you've added it.

To the right, where it currently says "ChuckieEgg.ssd" we'll put the game name - so I'll change it to "Chuckie Egg (BBC)".
Things start getting a bit messier/more complicated for the "TARGET" and so on, so let's take it one field at a time.
Set the "TARGET" to:
"home/deck/Games/Heroic/Prefixes/default/BeebEm/pfx/drive_c/Program Files (x86)/BeebEm/BeebEm.exe" (you can easily browse to it using the "Browse" button to the right of the "TARGET" field).
INCLUDING the quotation marks. This is telling Steam to go straight to BeebEm, eshewing the Heroic Games Lanucher and flatpak, for speed (as you will soon see, "speed" is a relative term here). We'll do this precisely the same for EVERY BeebEm game - you don't need to change anything on this line for a particular BBC program.
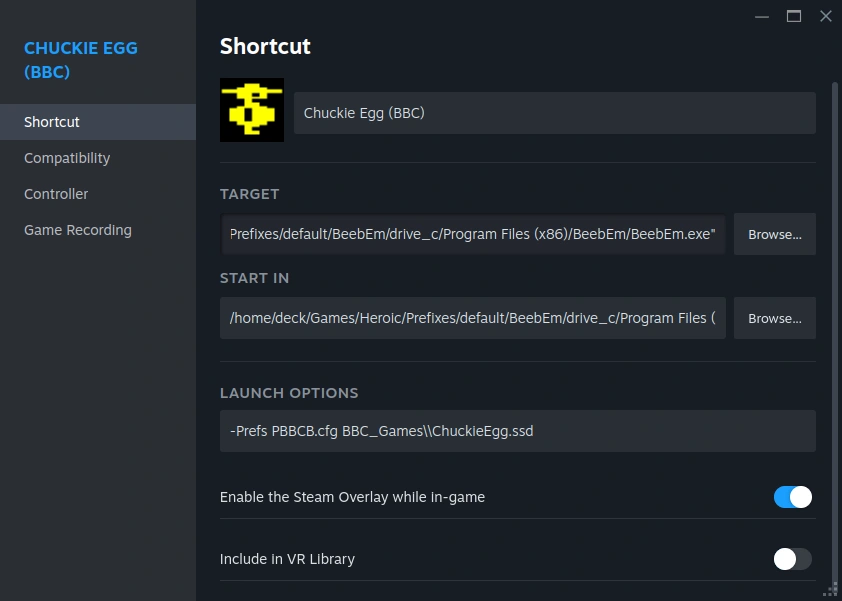
The pictures either side of this text should show the start and end of the "TARGET" clearly, so feel free to double-check me - and while you're at it, check and set the "START IN" field to:
"/home/deck/Games/Heroic/Prefixes/default/BeebEm/pfx/drive_c/Program Files (x86)/BeebEm/"
Once again, this should be the same for every BBC program we set up.
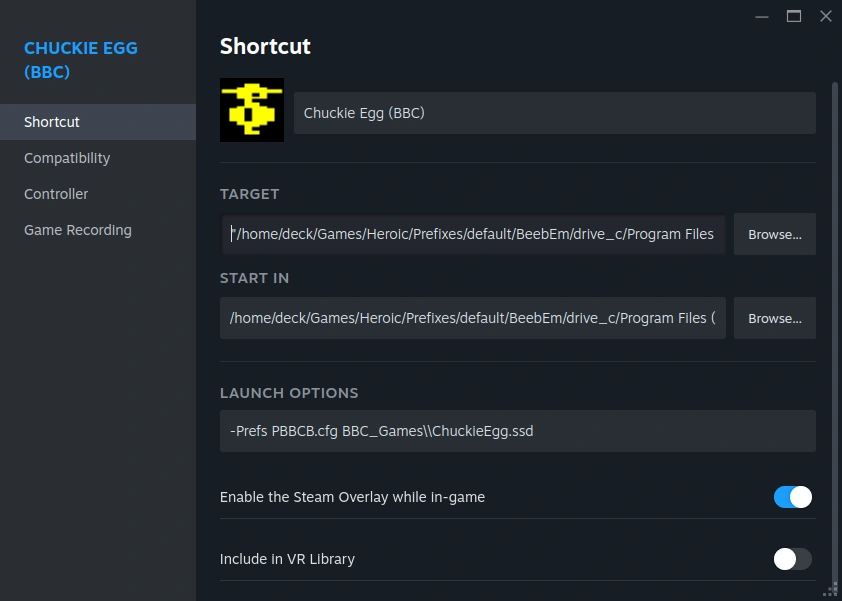
That is enough to get BeebEm running about 7 seconds faster than I originally had, but this is where the good stuff is. I have 3 "Preference" files I have created, for the 3 main configurations that I expect to be the most common. These are:
PBBCB.cfg
BBBCM.cfg
and
P65c02.cfg
I'm pretty sure you don't need me to tell you what they are, but I have put them in:
/home/deck/Games/Heroic/Prefixes/default/BeebEm/pfx/drive_c/Program Files (x86)/BeebEm/UserData
You will no doubt note that this is the "UserData" folder which is immediately under the "START IN" location we specified earlier. You can eschew preference files, make your own, or grab my current set from here. I am likely to tweak these as time passes.
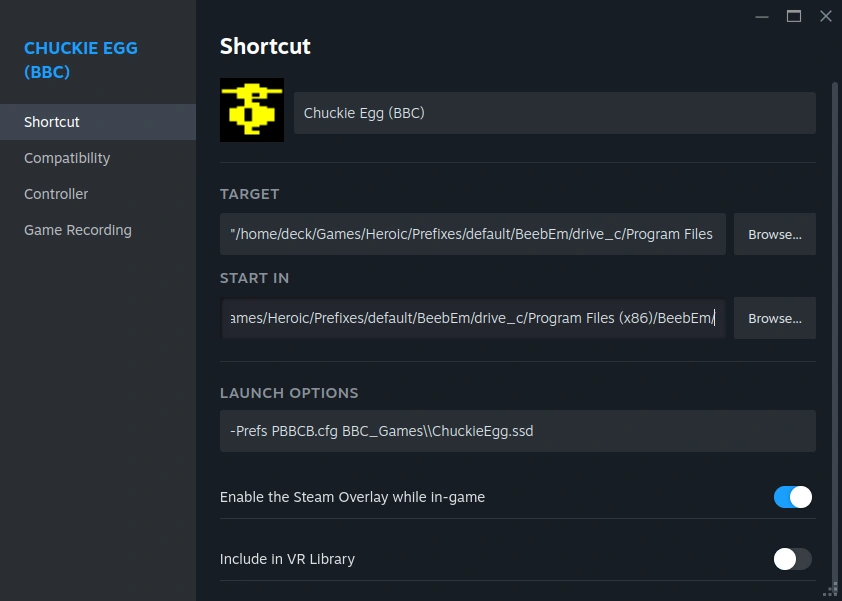
Finally (for our basic Shortcut settings) set the "LAUNCH OPTIONS" to:
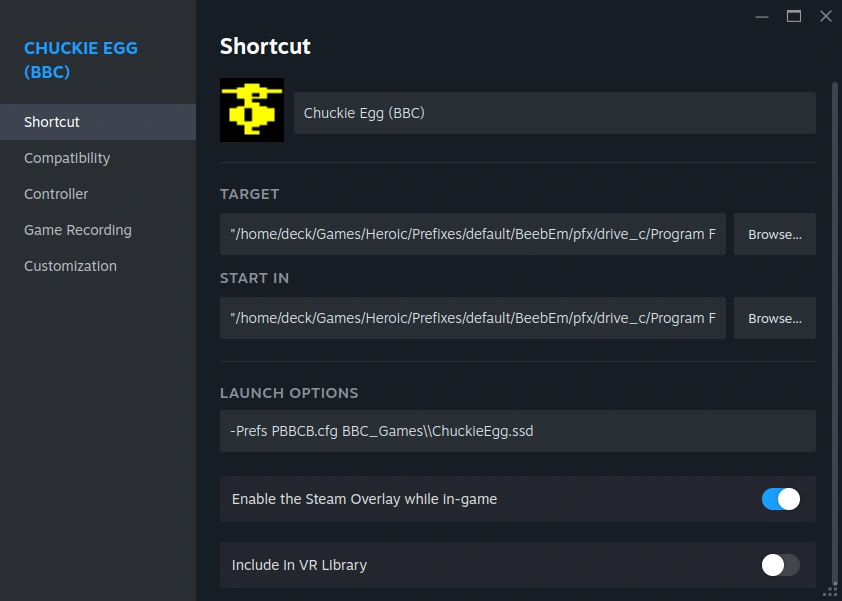
-Prefs PBBCB.cfg BBC_Games\\ChuckieEgg.ssd
This line is passed to BeebEm directly - no getting messed up by Heroic or Flatpak.
FYI "-Prefs PBBCB.cfg" can be omitted for any games that match your BeebEm default configuration.
"BBC_Games\\ChuckieEgg.ssd" will also be passed to BeebEm as the relative path and filename of the game we want it to run - so change it to suit whatever game you're adding.
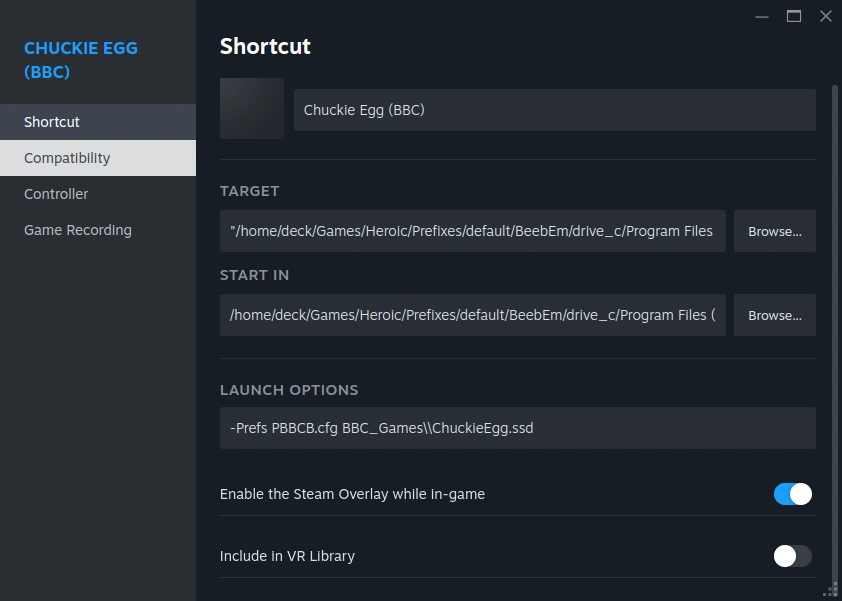
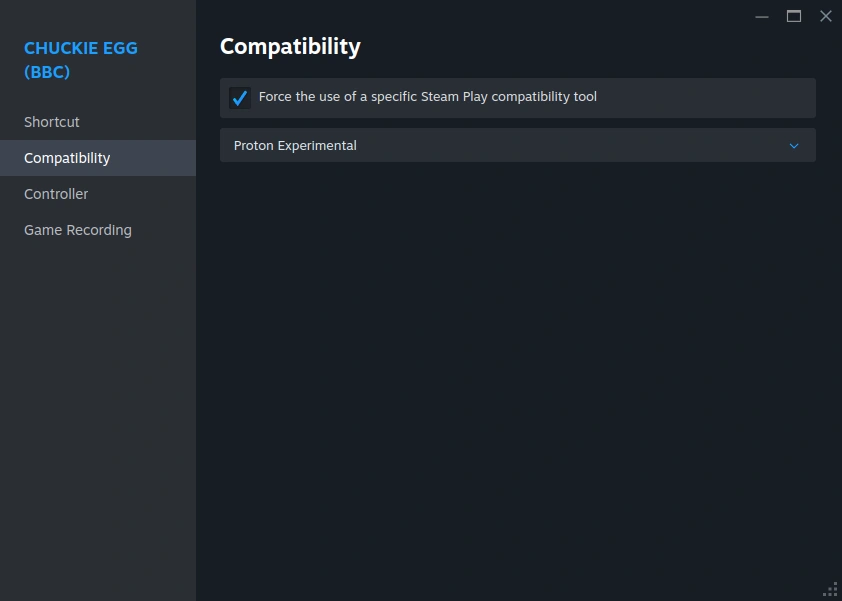
I want you to Force the usage of the Experimental compatibility tool, like so. At time of writing selecting "Proton Experimental" actually chooses a different setting initially - so we have to choose it twice. This behaviour may change over time. When you're happy that you have the Experimental version of Proton selected, close the "Shortcut" window.
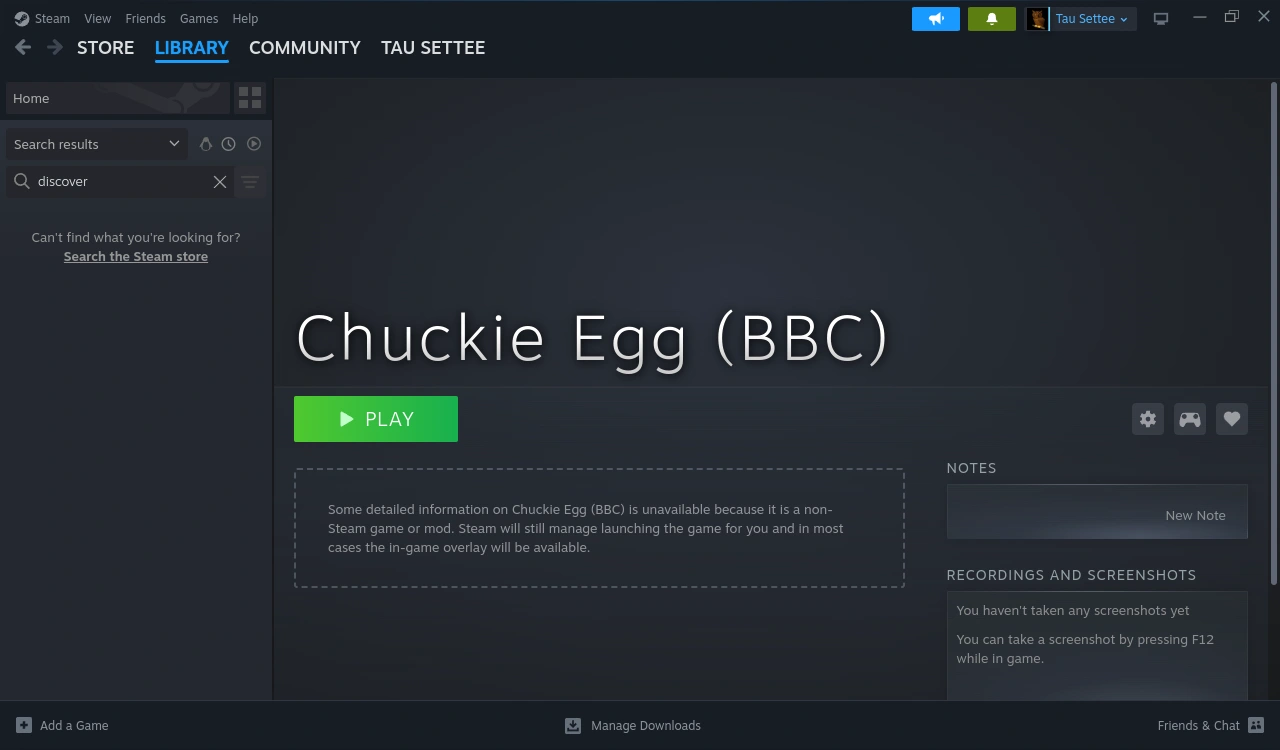
Now click the "Compatibility" button over on the left.
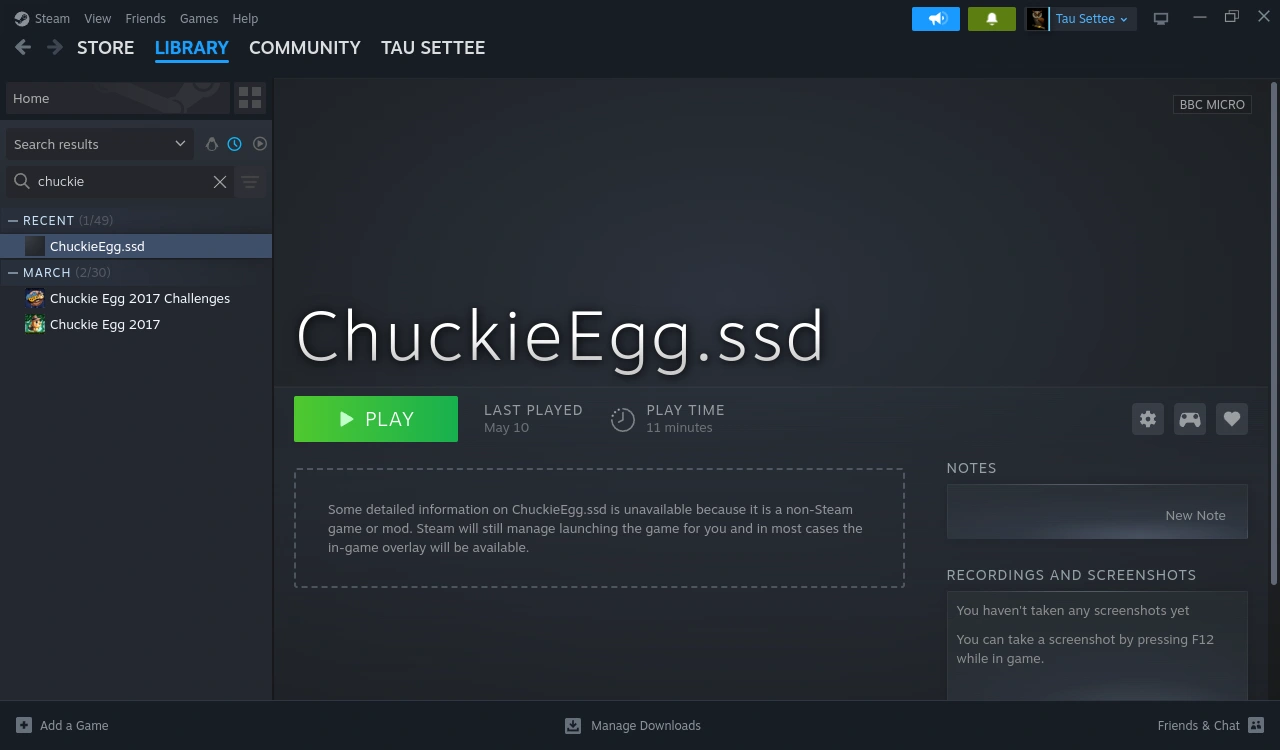
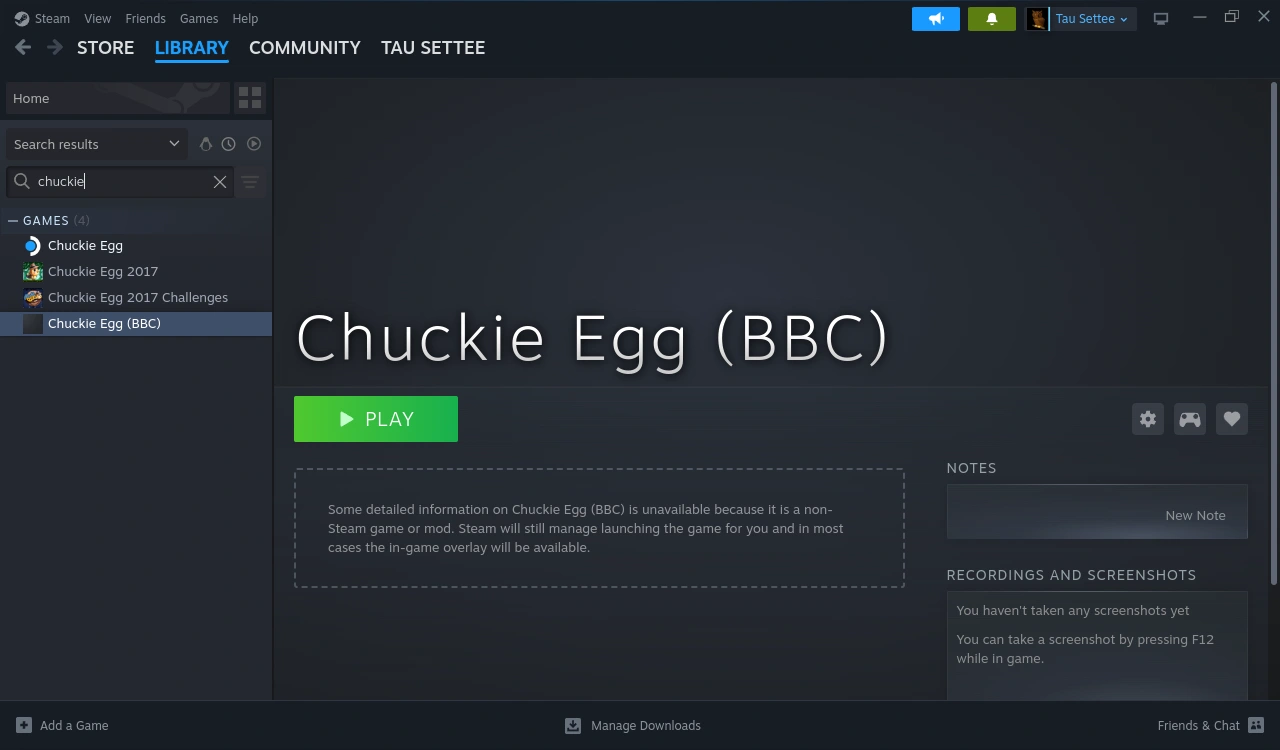
Where we once had "ChuckieEgg.ssd" both to the far left (in the search box and below) AND the currently selected "game" was "ChuckieEgg.ssd", Steam has now realised that "ChuckieEgg.ssd" is no longer in the Library and the currently selected game is called "Chuckie Egg (BBC)". This is good!
Pressing "Play"
In general, have care when clicking the big green "Play" button when the Steam Deck is in Desktop mode. We're OK with BeebEm at present, but some games/programs grab the whole screen by default (and BeebEm will also do this if your Preference files are set to "Full Screen"). Since we're in Desktop mode, Steam cannot "grab" control of the Steam Deck like it can in Gaming mode, so you can end up in a situation where you're trapped in a game with no obvious way out.
Since this doesn't pertain to us, let's click that invitingly large and bold "Play" button!
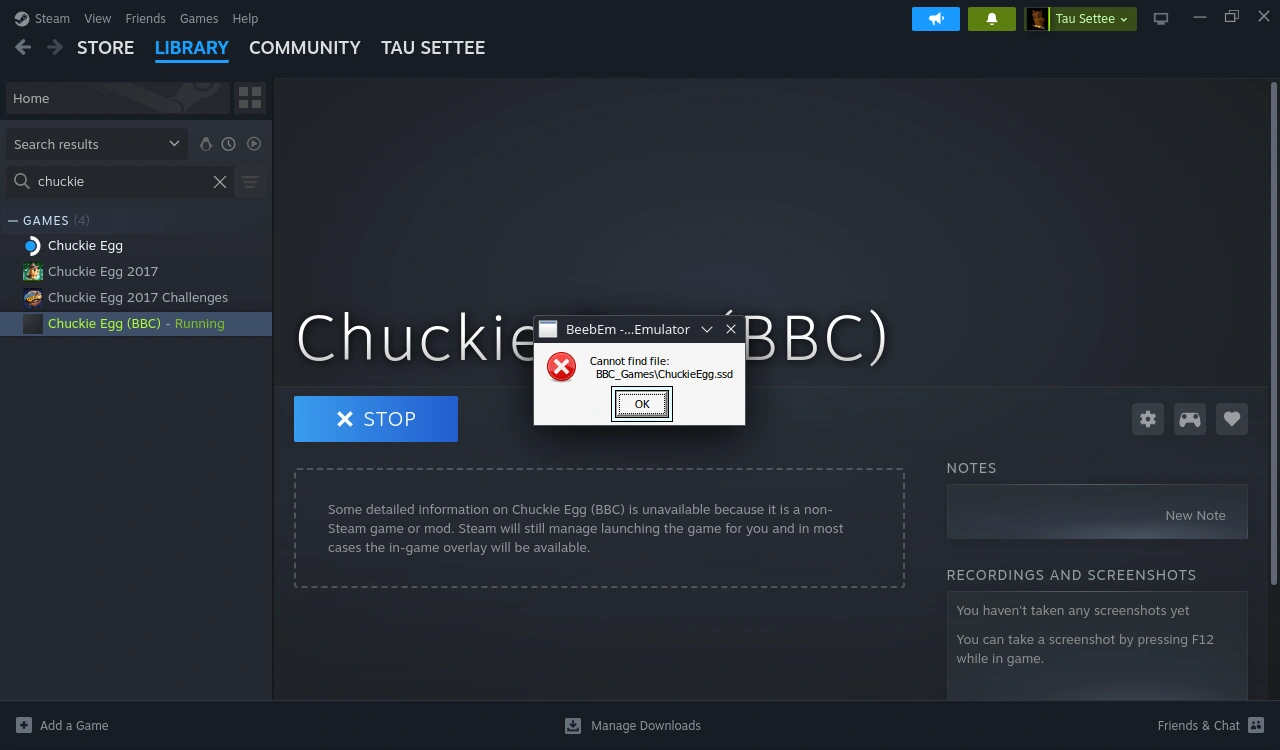
Oh no! An error message! BeebEm cannot find our game! Do not worry about this, as we are about to address this situation. For now, just click the "OK" button (you aren't offered any alternatives anyway).
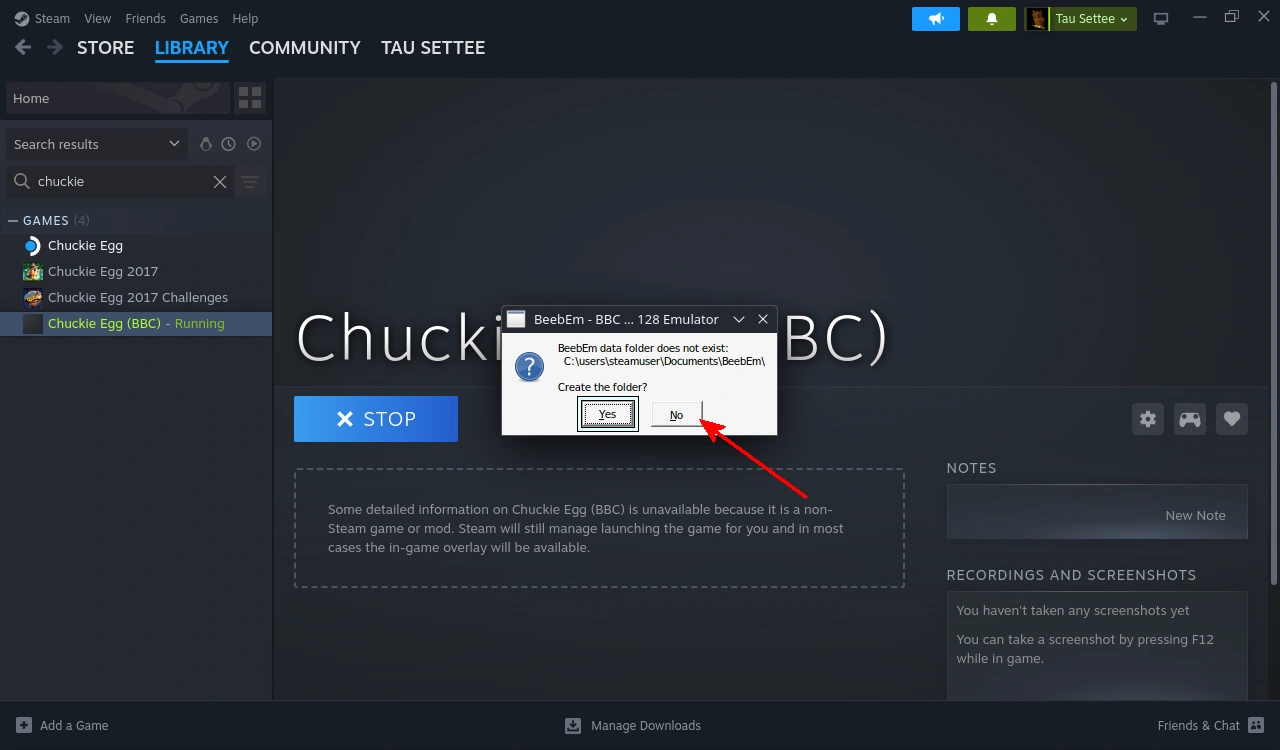
The next error offers us a choice - do we want to create a separate data folder for each BBC microcomputer game that we're going to install? IMO this would make file management a nightmare - I would prefer to put all my BBC micro games in one folder, please - so click "No" emphatically!!! Note that this is NOT the default, which is shown here.
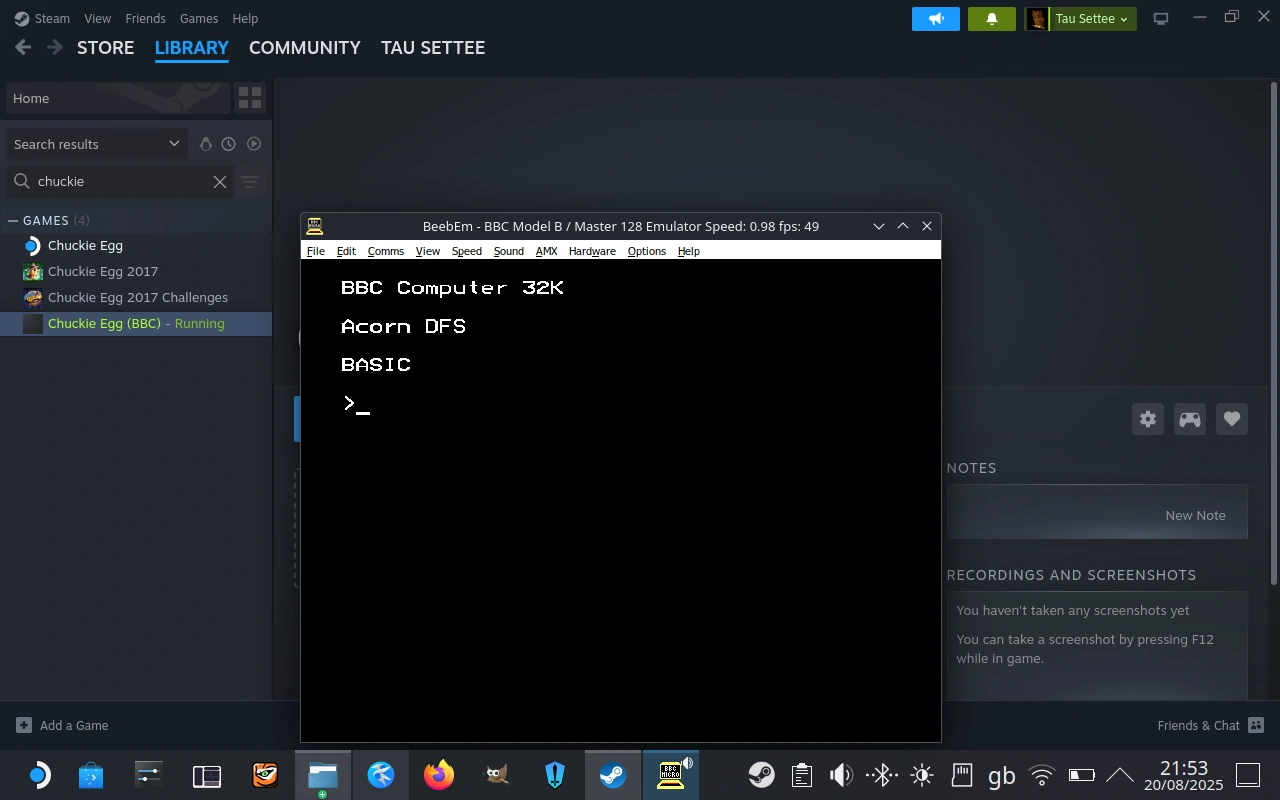
... and hit the "Play" button again.
BeebEm finishes starting up, and appears windowed as before. Now - it hasn't loaded up "Chuckie Egg" because we had not specified that we wanted to share a UserData folder when we installed Chuckie (this irritating step is going to happen for every BBC micro game we add) but it's not a problem - close BeebEm...
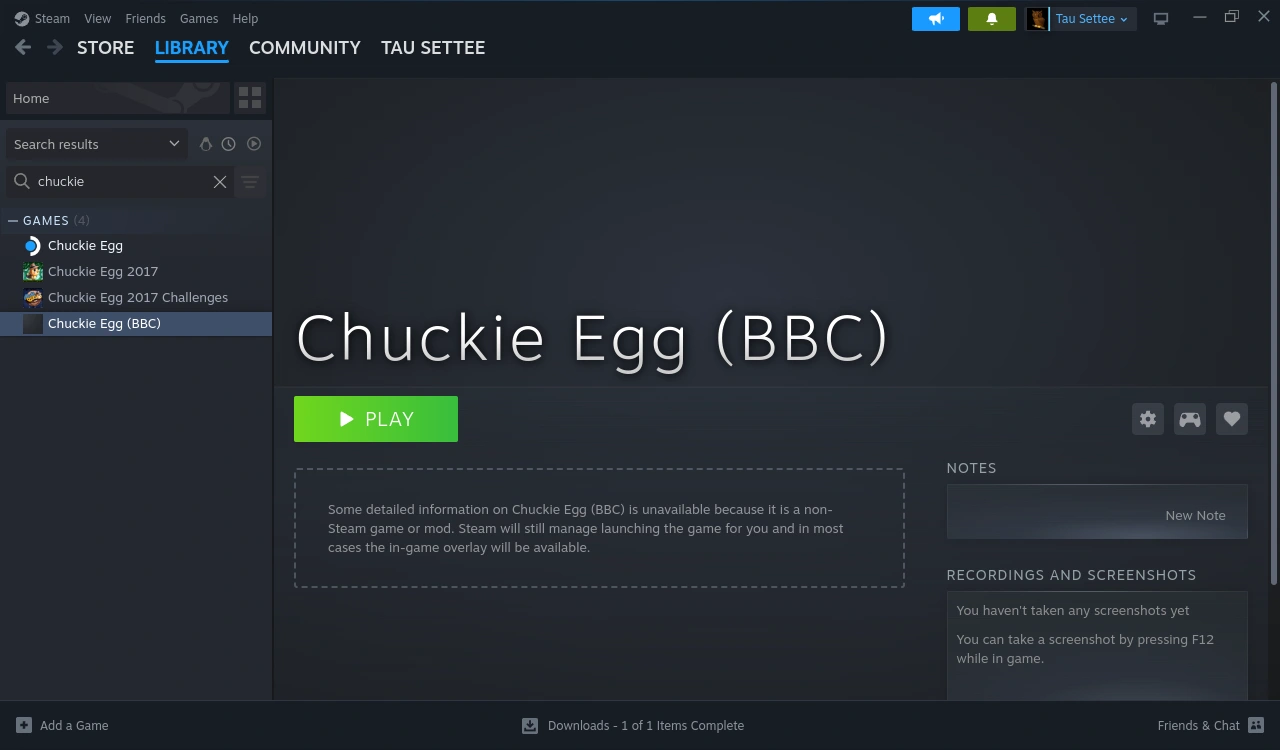
Chuckie Egg starts up in all it's glory! Provided, of course, that you either followed these instructions precisely or you adjusted everything to suit your preferences correctly.
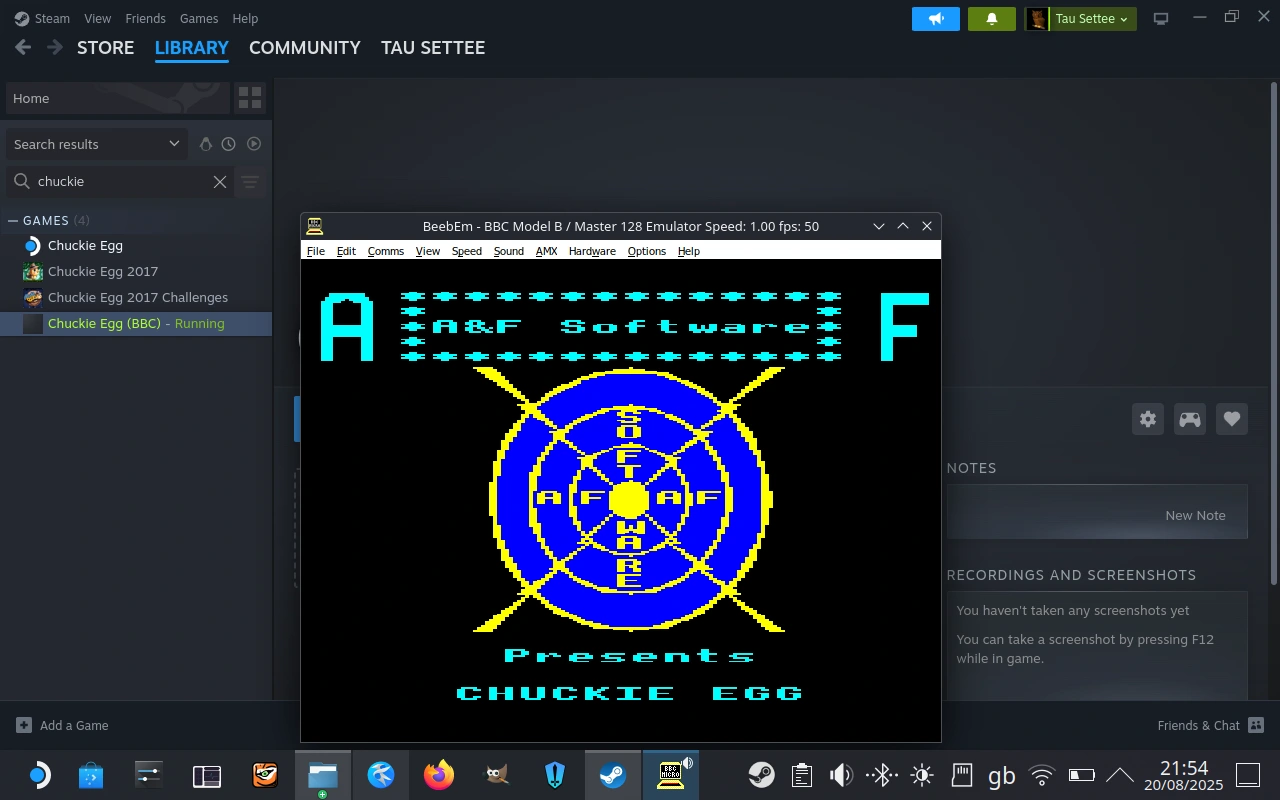
Load Games Faster Still!
We've already improved the speed of loading BeebEm and our game (The sample game chosen being Chuckie Egg - for very good reasons). But still a game can take a while to load. Chuckie Egg for example goes through these major steps between Loading BeebEm and being able to press a key to initiate a game:
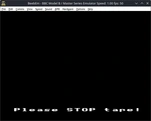 | 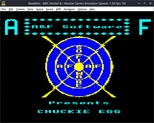 | 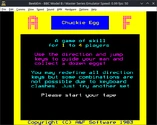 | 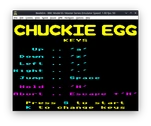 |
1) A game might start by loading a program from disc or tape and display an initial "welcome" screen instructing you to stop the tape so that you can appreciate the information the game is trying to impart. | 2) The game displays a "Splash" screen - or several - giving the user instructions. | 3) The game might then instruct you to start the tape again, and it proceeds to load the actual game... | 4) Finally, the actual game has loaded, and we can proceed to play it... (on an original BBC - for BeebEm on the Steam Deck we have more work to do yet). |
Please forgive the graphics in the background here... consider them a "sneak peek" ;)
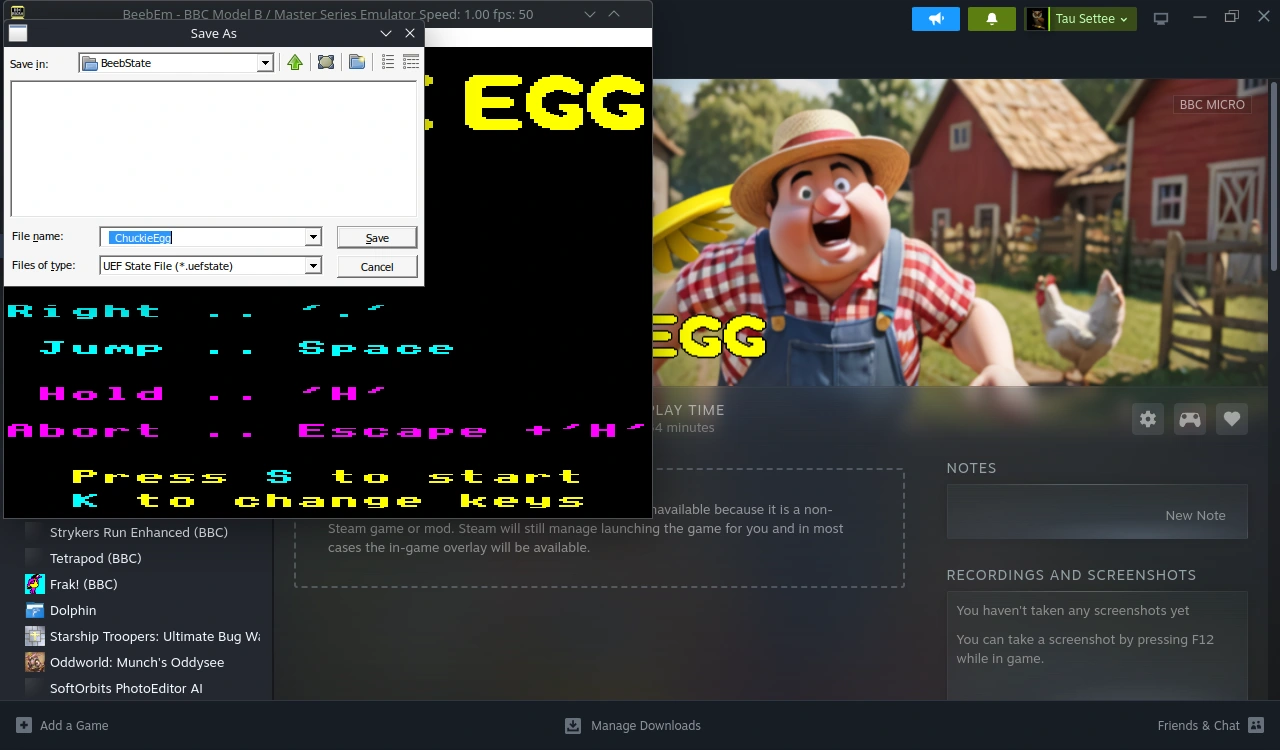
In Desktop mode, start up Chuckie Egg and wait until we have reached the end of loading the game. Bear in mind that whatever is on the screen when we "Save State" will be on the screen every time we load this game in future. I have chosen to interrupt while the game is displaying the controls - you might prefer a screen that shows the first level, or the high scores, or - well, the choice is yours. Select "Save State" from the "File" menu, and name your "State" file. Note that we are saving our first "State" file, so the folder is currently empty. Press the "Save" button...
Close Chcukie Egg, but keep the game selected in Steam. Click on the "Manage" gear, and select "Properties" to bring up our "Shortcut" window.
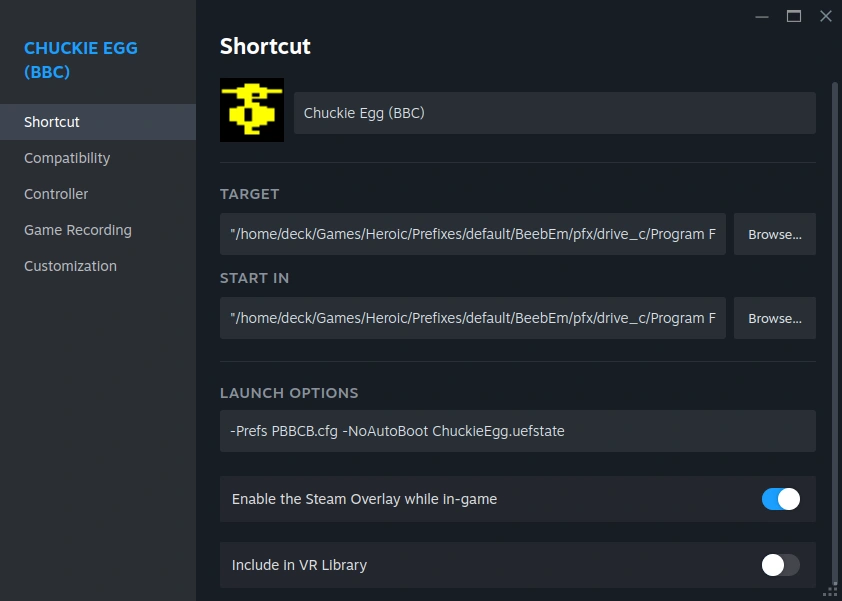
Before the filename (BBC_Games\\ChuckieEgg.ssd in this case) add the "-NoAutoBoot" command. If you don't do this, BeebEm will auto-boot the .SSD image and we won't gain anything from using the "state" capability!
Replace the file path and name (BBC_Games\\ChuckieEgg.ssd) wwith the filename of our new "state" file (In this case, ChuckieEgg.uefstate). We should end up with something not unlike the image to the right.
Close the Shortcut window and...
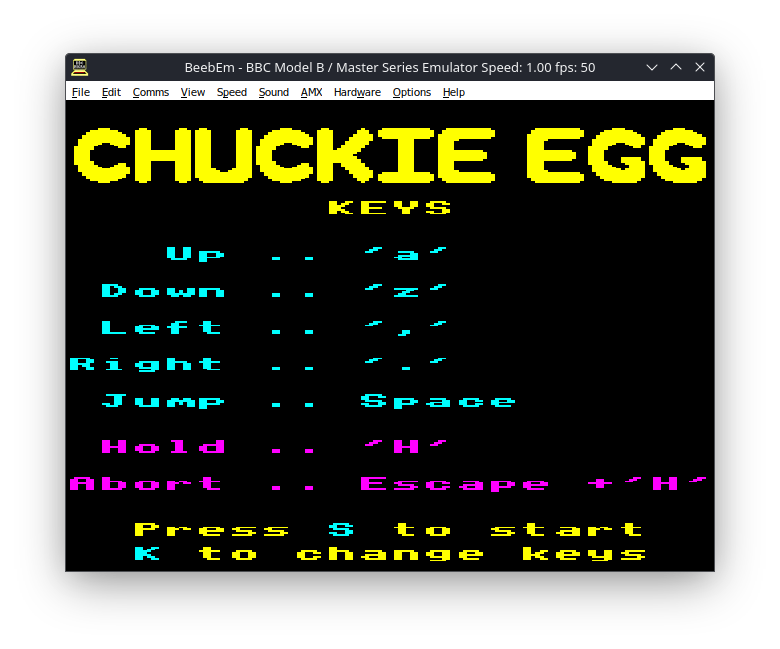
Run Chuckie Egg again. The Steam Deck still has to load BeebEm and our preferences files - and now our state file too - but you should land in the game much quicker!
Other enhancements...
If the game never needs to access the tape or disk image again, we can remove it BEFORE saving the state file (this SHOULD save a fraction of a second in loading time because BeebEm won't need to load the disk image into the virtual drive each time - but I challenge you to be able to time the difference!).
Possibly more interestingly you could resave the state file each time you get a high score - so that your "score table" is more reflective of your progress over time.
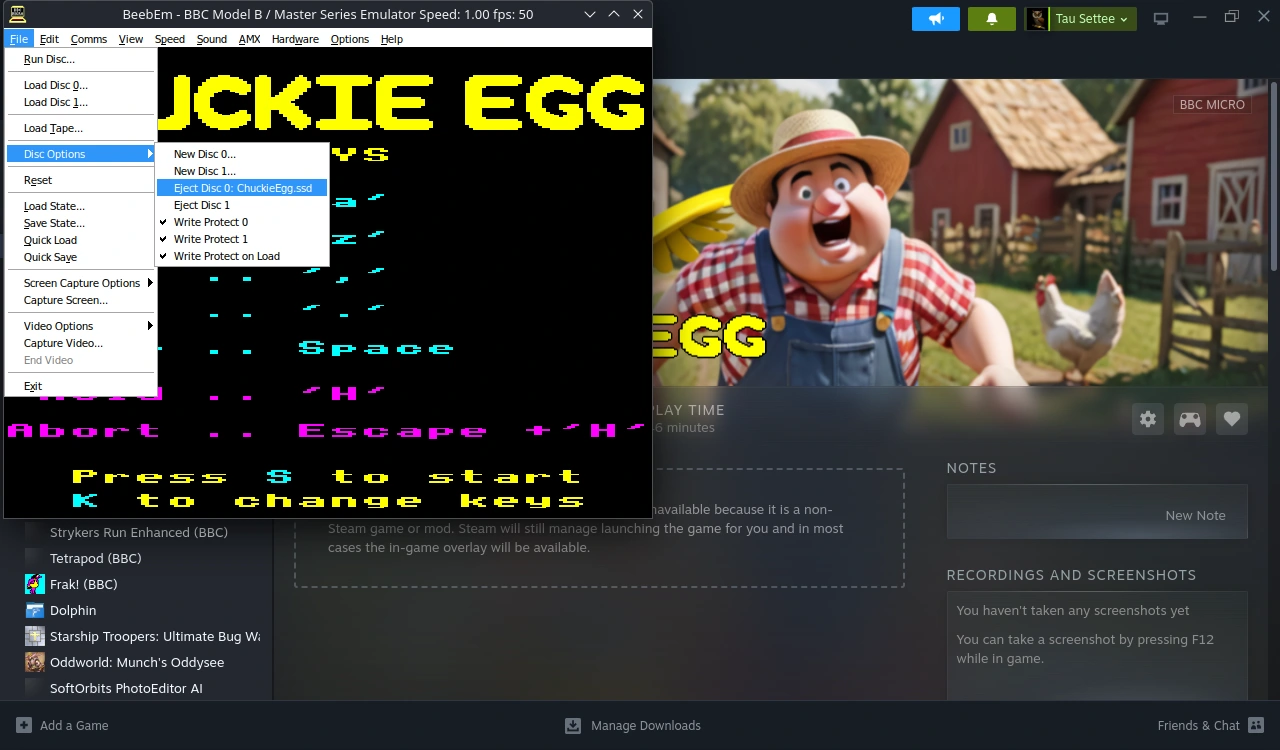
We're Getting There...
...but unless you have a physical keyboard attached, the game won't actually be playable as such yet - and it looks horrible generic in the Steam GUI. We'll approach graphics to make the games look better in Steam first, and then move on to controls.