
Prepare for BeebEm
Cliff Notes > Steam Deck
OK - we're going to start with some easy-to-follow steps to get BeebEm games running nicely on the Steam Deck, starting out with installing FlatSeal and Heroic Games Launcher!
Preparing a Steam Deck for BeebEm
Even before that though, let's talk about backups. Backups are an incredibly handy thing to have, and I wouldn't be able to produce the screen captures in this tutorial if I wasn't able to restore my Steam Deck to a very early stage where it is bereft of the software I am going to show you how to install and setup.
For my own purposes, we bought a Docking Station from the Amazon (UK) store : Benazcap Docking Station for Steam Deck* which will aid in this process. I have no clue who Benazcap are, but the official Steam Deck Dock wasn't available from Valve, and this is simply the one I found at the time with the features that I wanted (power passthrough to the Steam Deck, Ethernet, and 3 USB ports). I also have a wired keyboard and mouse (not bought for the SD, sorry - you'll have to source those yourself!) as well as Bluetooth variations (Bluetooth devices are great - until you need to use a keyboard or mouse having booted from a USB drive, at which point they simply don't work).
Backing Up
Armed with SD, Dock, and keyboard (mouse not required) I downloaded a Linux build of Clonezilla Live* on my PC and used Rufus * for the first time ever to write the bootable .ISO file to one of these : SanDisk Extreme Portable SSD 2TB* I have made several backups of my Steam Deck. To boot CloneZilla I hold "Volume Down" while I switch the SD on, and release the "Volume down" button once the SD logo appears on the screen. Backing up this way is a fiddly process, but I'm eager to get moving on rather than get side-tracked too far. This isn't a tutorial on backing up!
Flatseal
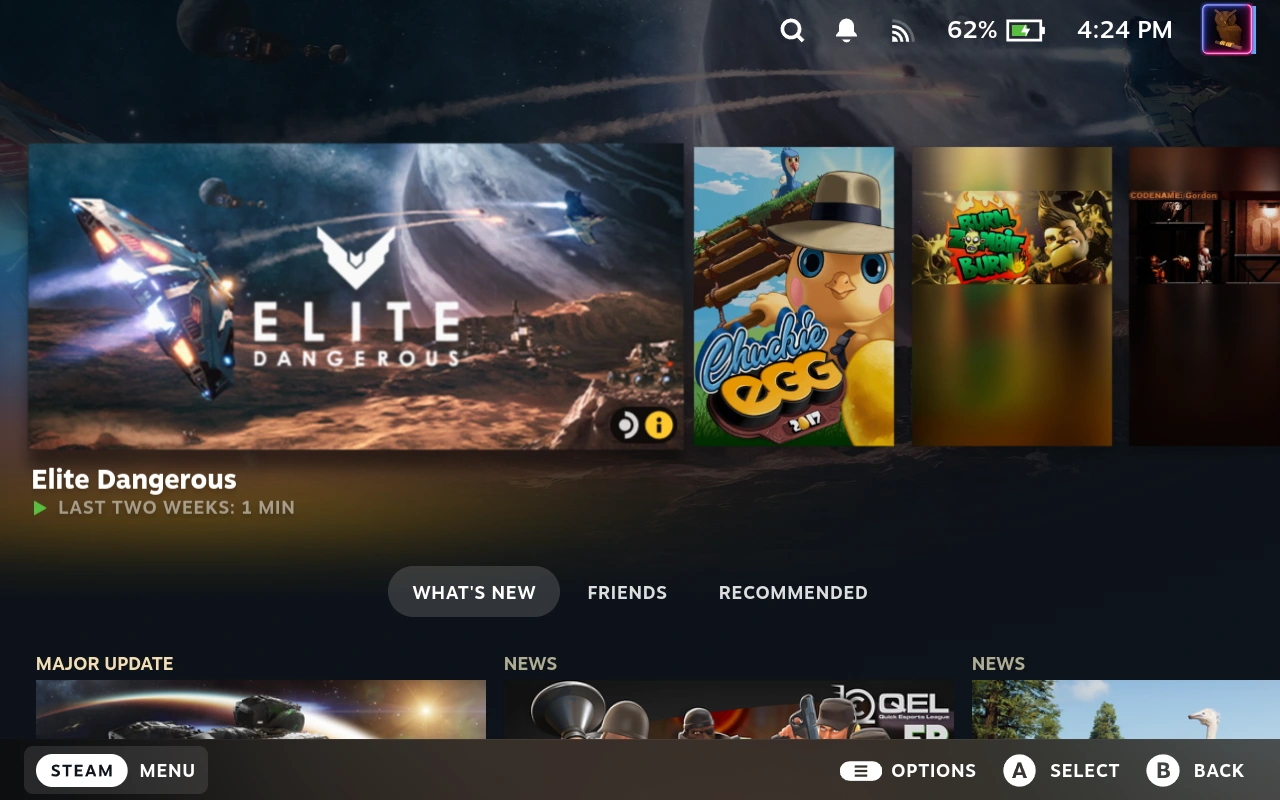
We'll start with a Steam Deck in default gaming mode, something like this. Press either the on-screen "Steam" button or the physical one, below the left trackpad.
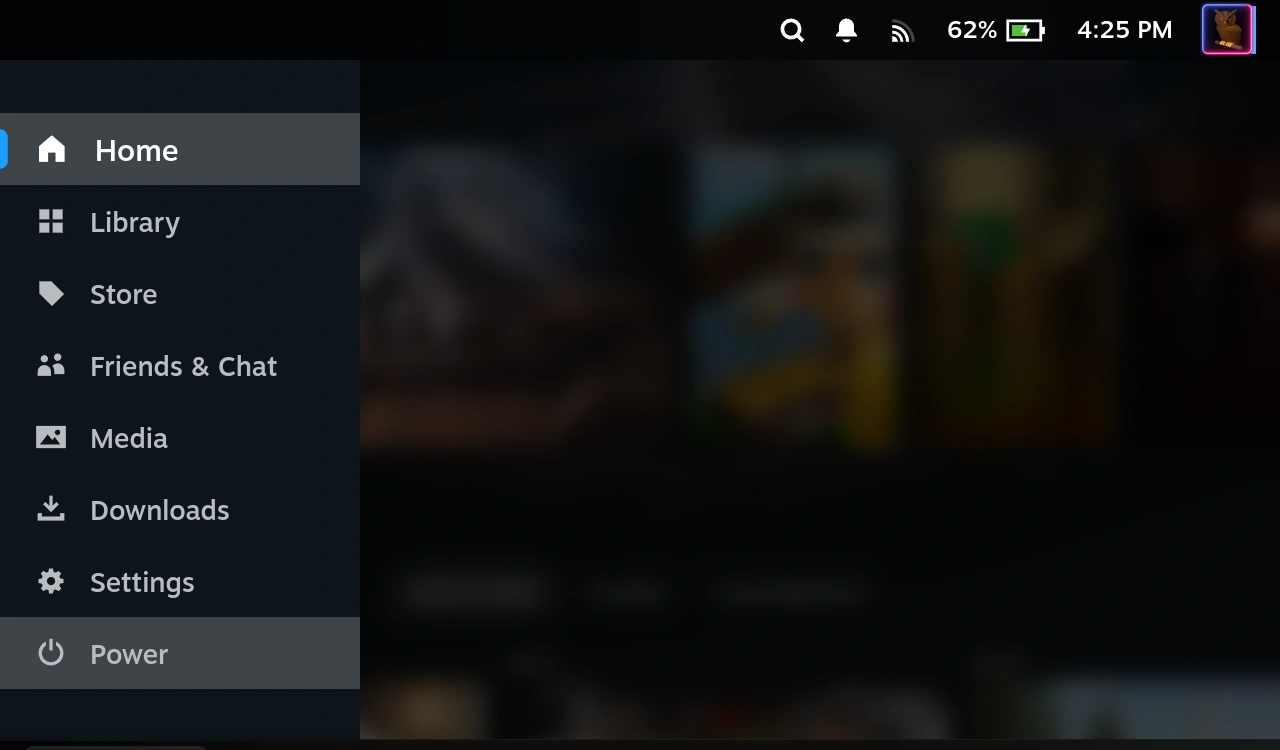
Select the "Power" button from this menu. I'm a little annoyed that the mouse pointer doesn't show up as I had hoped/intended. You probably won't see a mouse button because you're probably using the gaming controls at this point, but that's not the point.
Also note that I'm trying to remember to chop off the bottom 50 pixels of screen captures to save wasting space. I'll hope to show the whole screen when it's relevant though.
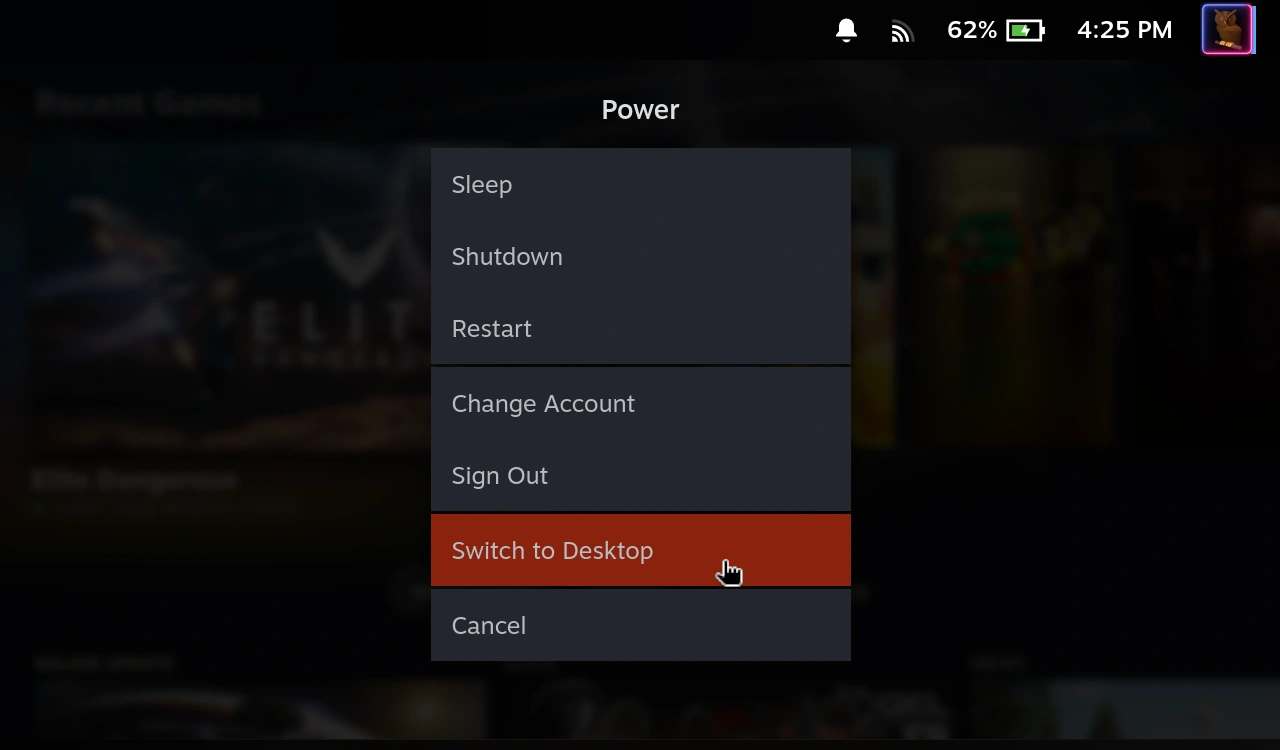
OK, well you're familiar enough with the style that's coming together for these "tutorials" to know what's next because you peeked at the picture - but I'll type it anyway: Select "Switch to Desktop".
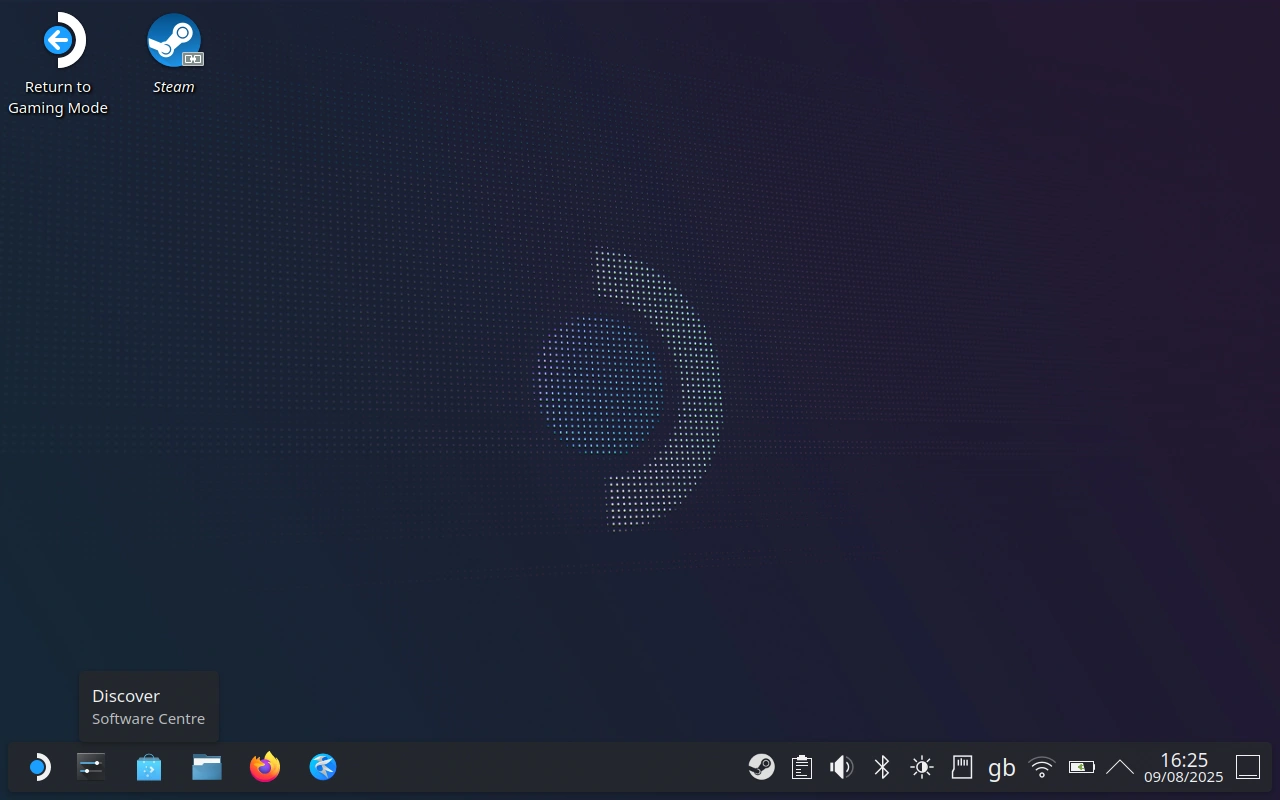
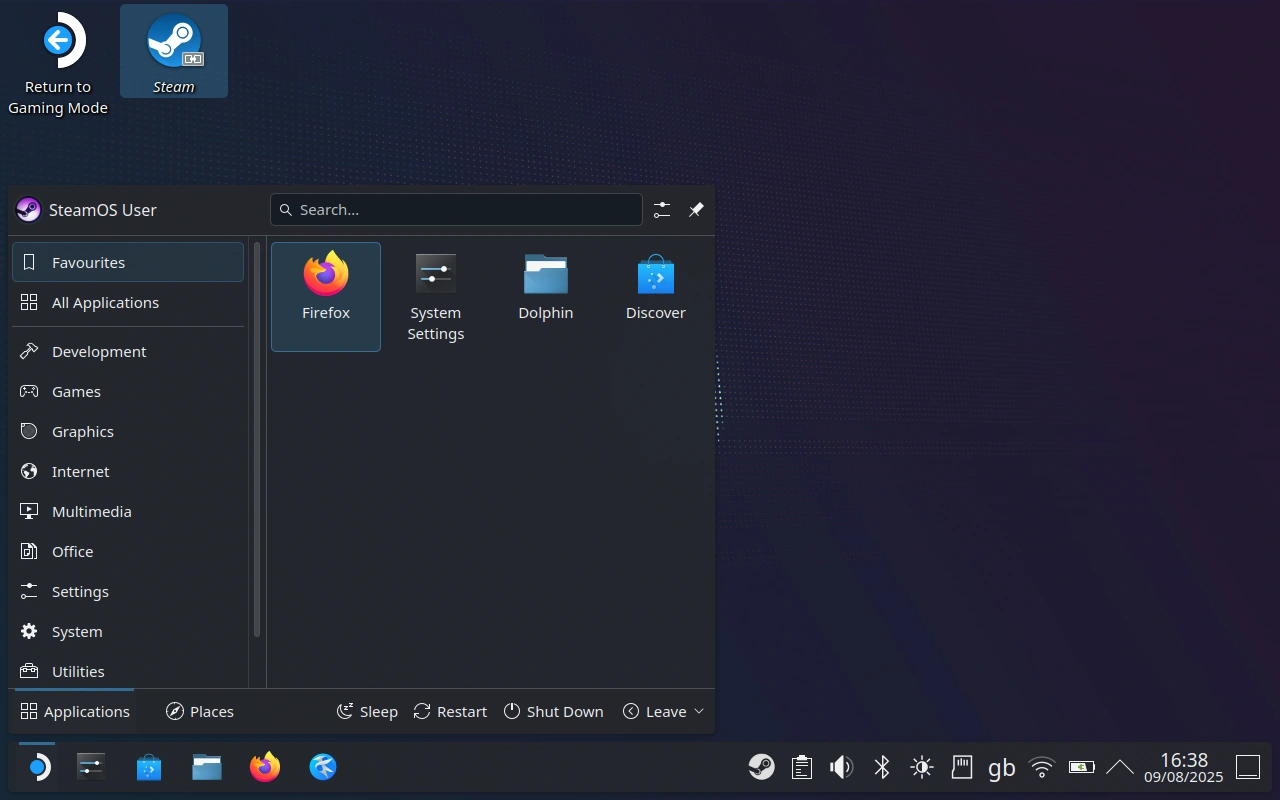
This switches from the very "Steam-like" interface to a more normal graphic Linux "Desktop". Please click the "Discover" program, shown here in the lower left area of the toolbar (a handy-dandy mouse pointer actually pointing at the Discover icon right now would we useful, wouldn't it?).
If for any reason you don't have a "Discover" shortcut on your toolbar, you should be able to open the "Steam Deck" menu from the lower left corner to pop up a window with "Discover" in the top right corner.
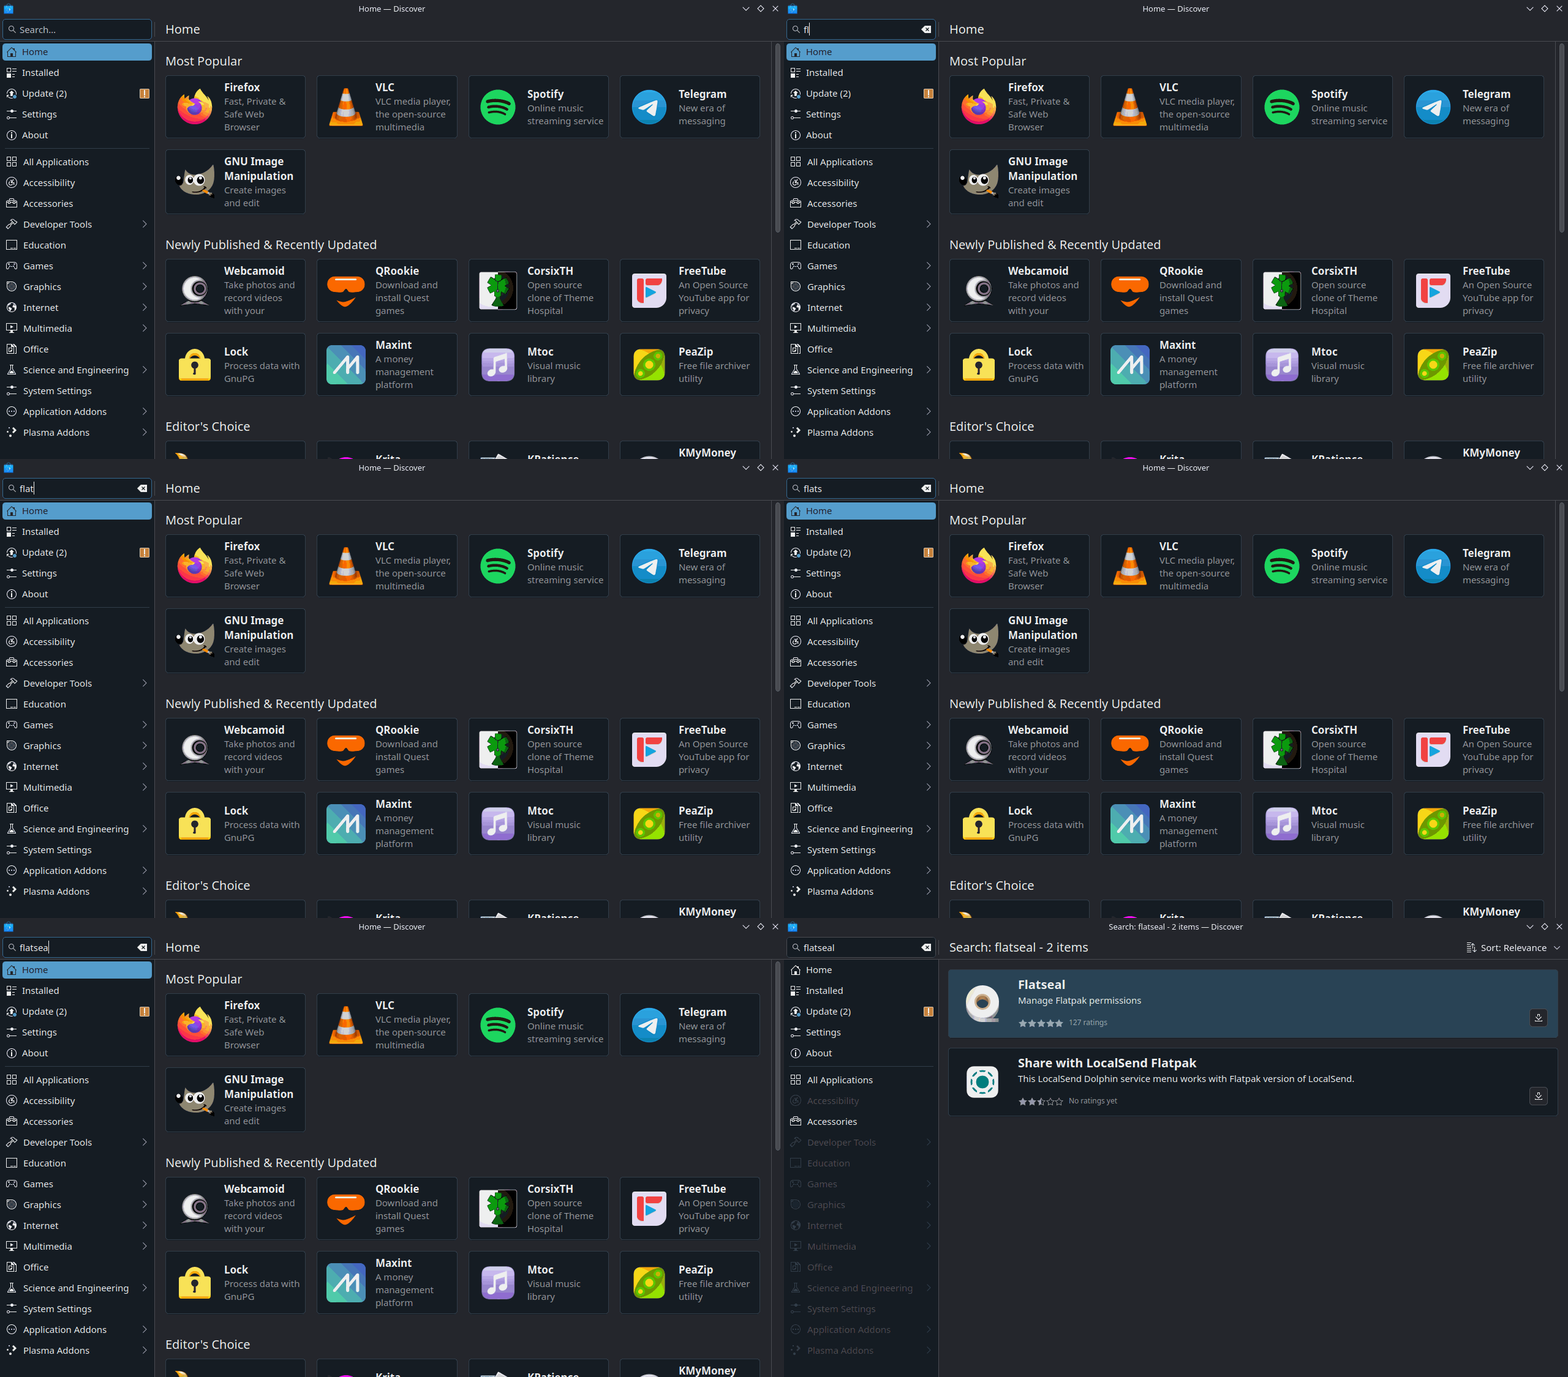
However you got there, you should now have the "Discover" (Software Centre) open. We can get the Flatseal program from here no muss, no fuss. I have "maximised" my "Discover" window so that it takes up the whole screen. By default the Search box should have the focus - so type in "flatseal" (without the quotation marks). I'll switch up the graphic type a little, from my usual still-image .PNG to a more animated .GIF. It shouldn't adversely affect any printout you may choose to make of this page. Click on "Flatseal" (shown highlighted on the right of the last frame of the .GIF file).
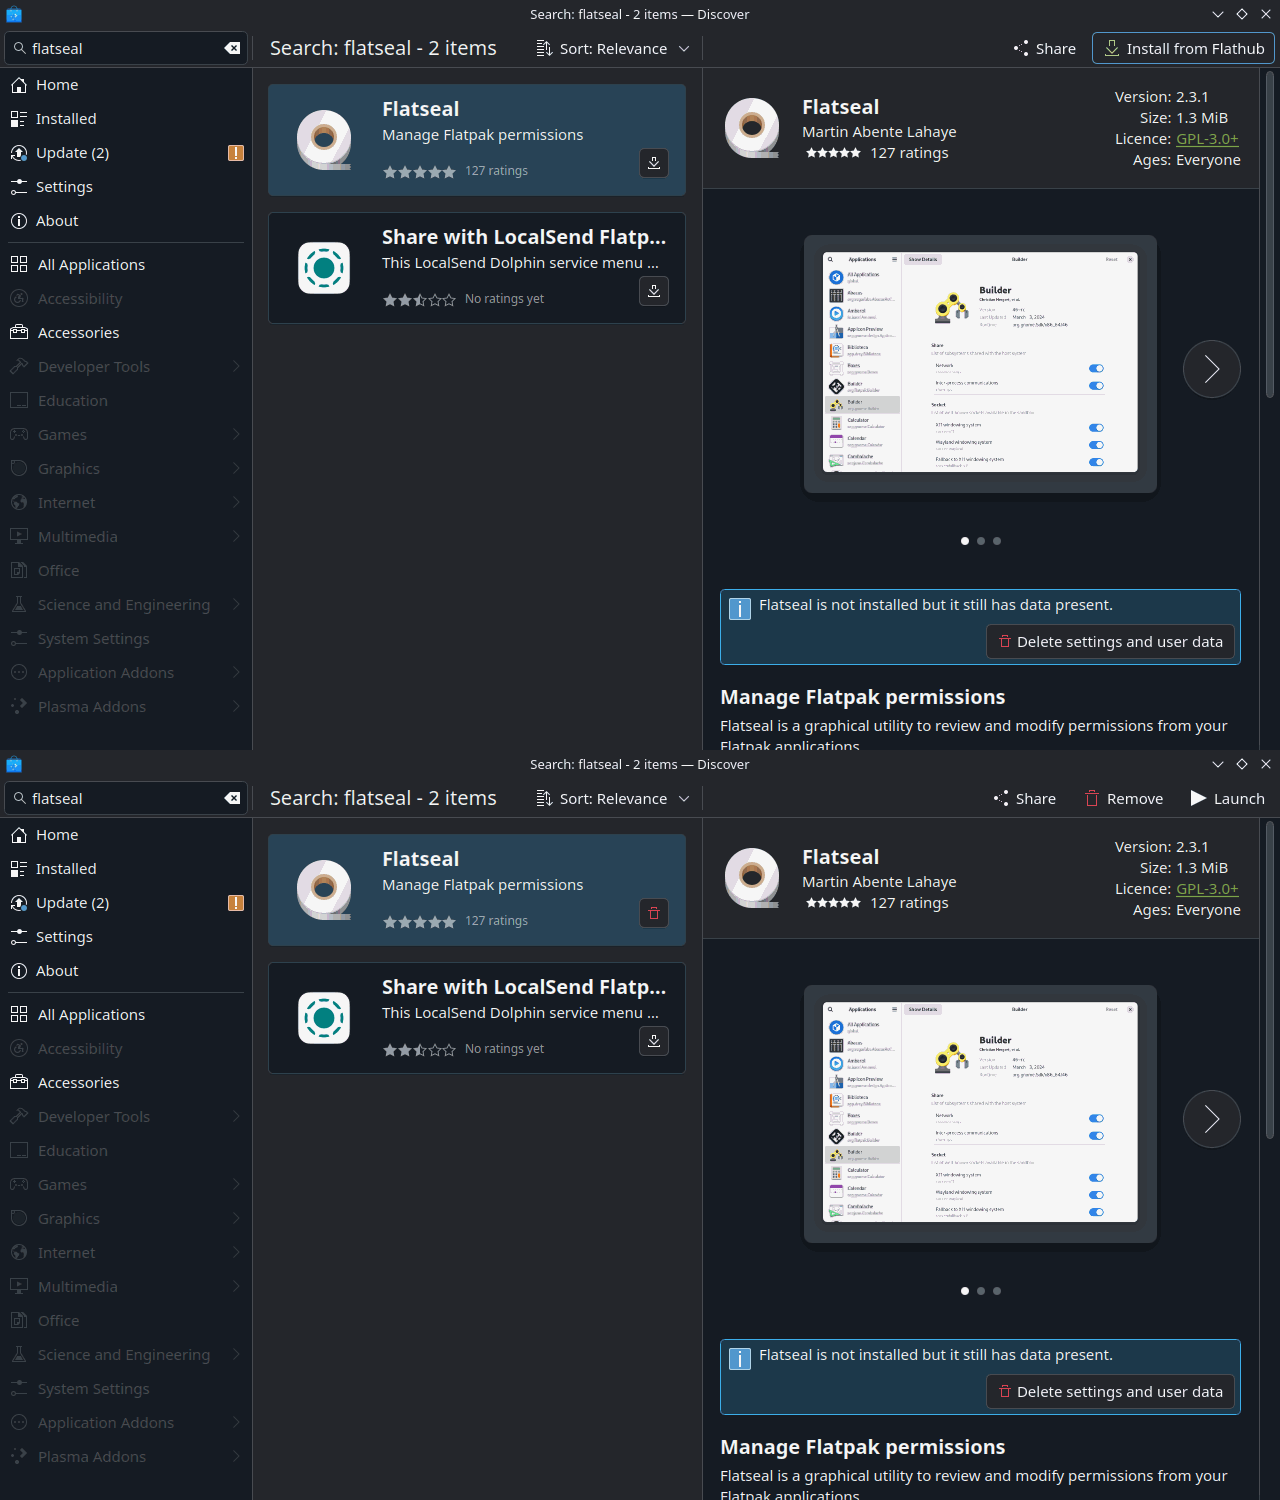
Once here, click on "Install from Flathub" (up in the top right corner) to actually install Flatseal from the built-in "Discover" Software Centre, which is much like the "Apps" control panel applet, "Microsoft Store", "Apple Store", or even "Google Play" that you might be more familiar with. Not as wild a West as the general Internet, in other words.
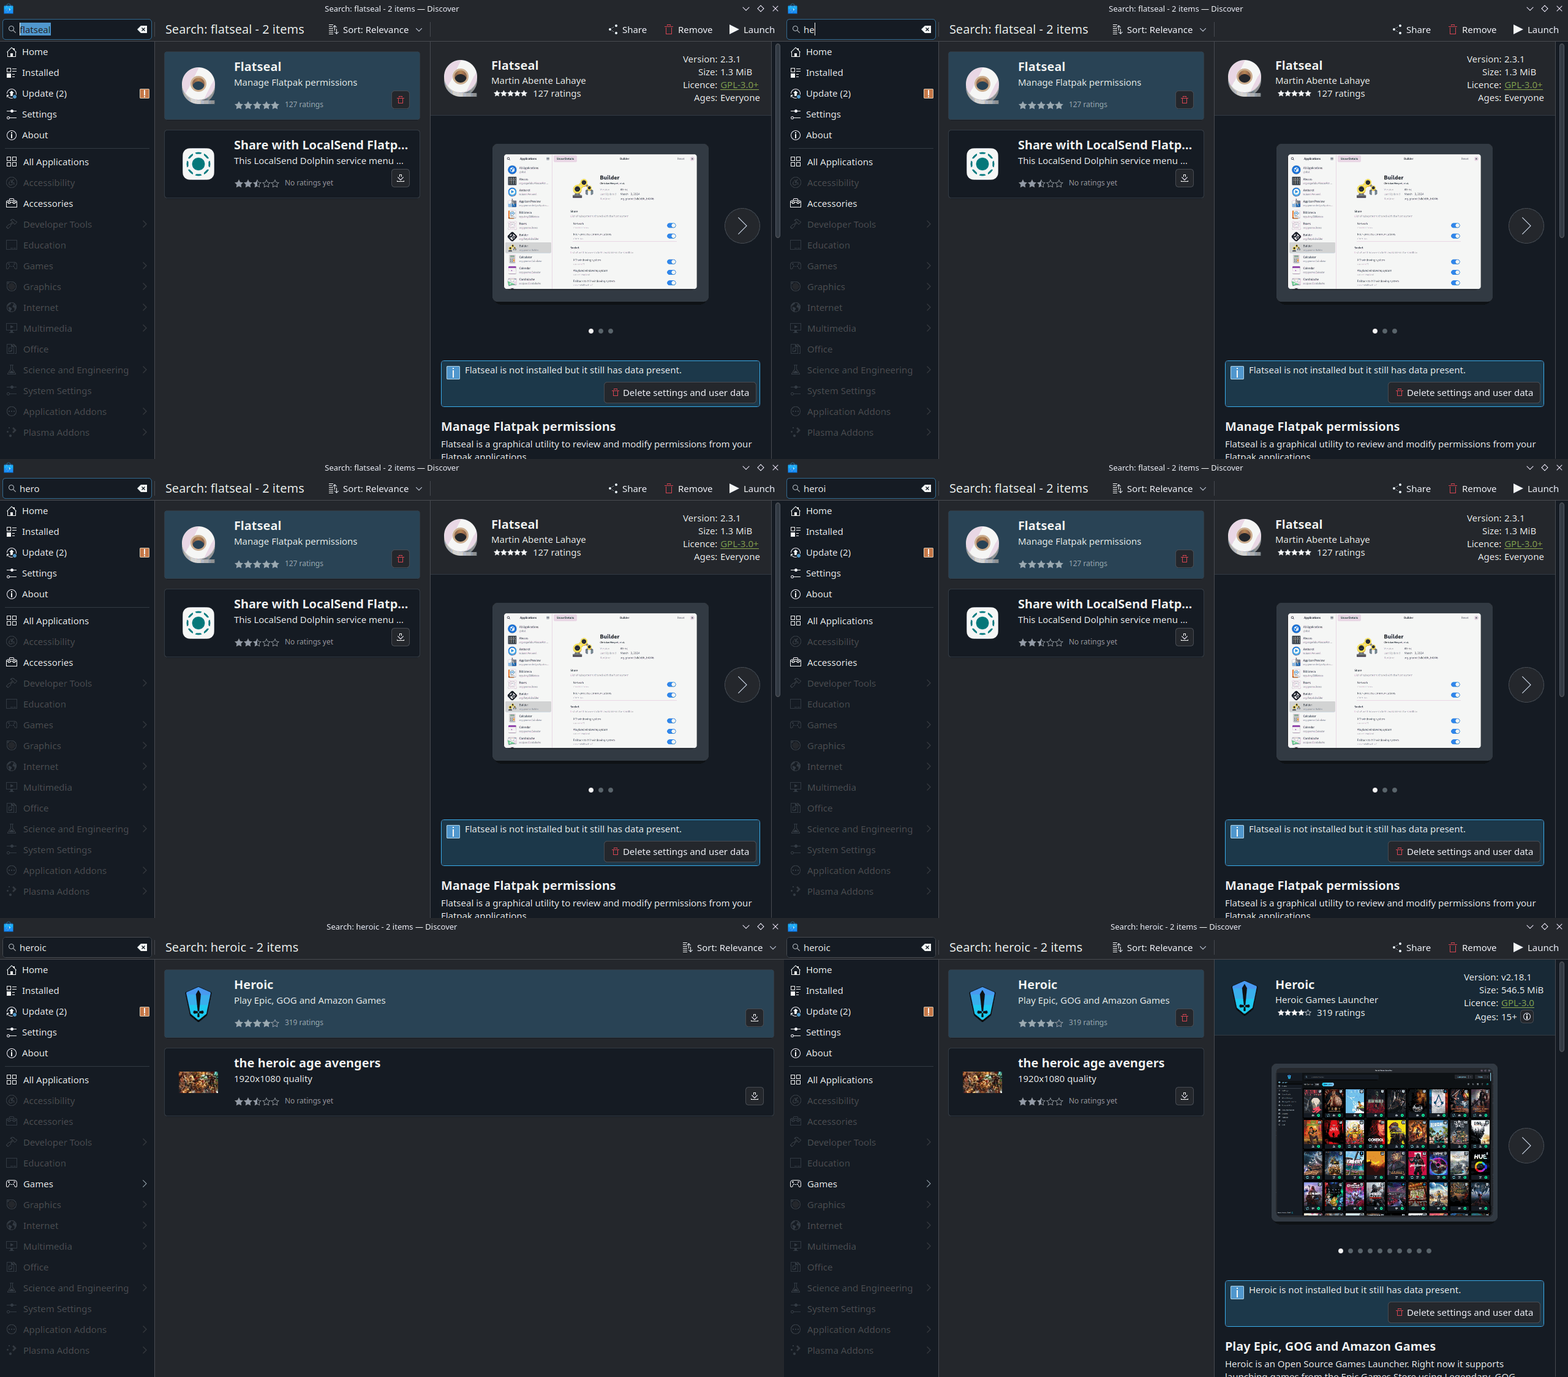
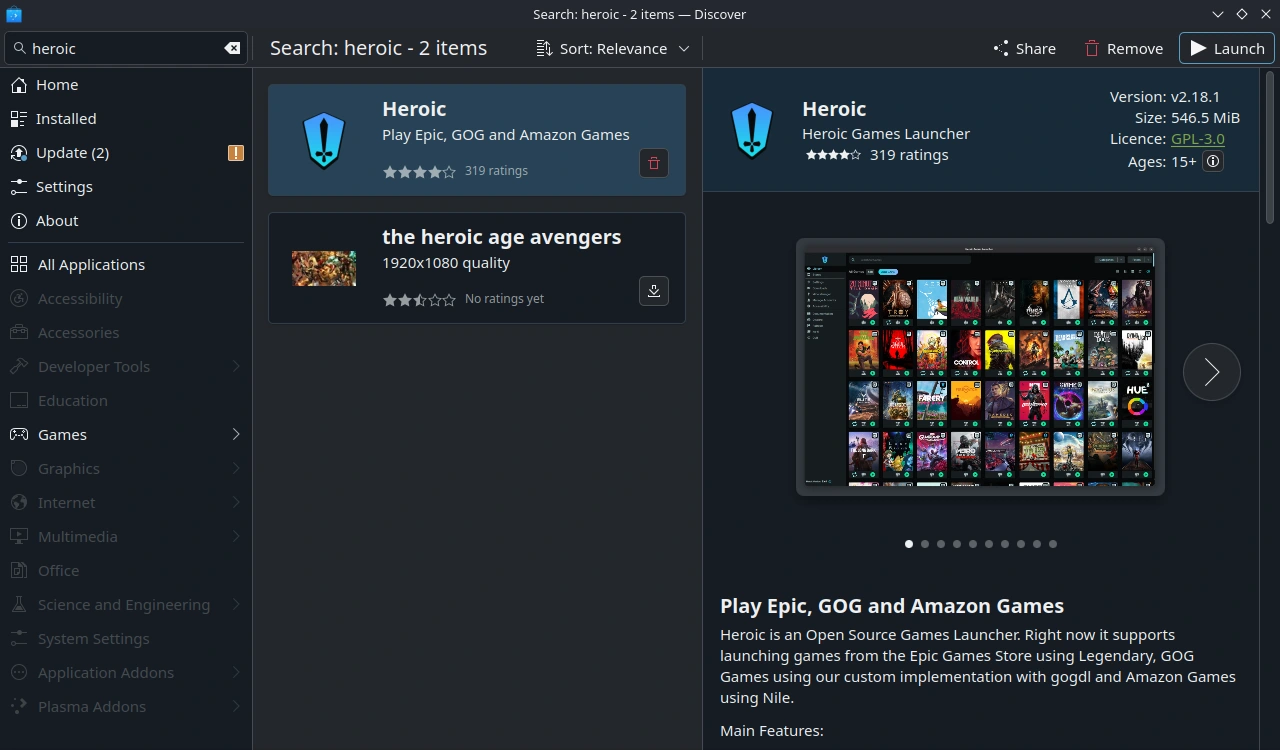
I won't bore you with the same exact steps for Heroic Games Launcher - just search for "Heroic", check that some other "Heroic" app hasn't snuck into the repository ("Discover" Software Center), and install it. Watch the .GIF animation if you're super bored.
We'll do something SLIGHTLY different now - instead of searching for another program or closing "Discover", let's "Launch" Heroic Games Launcher (top right).
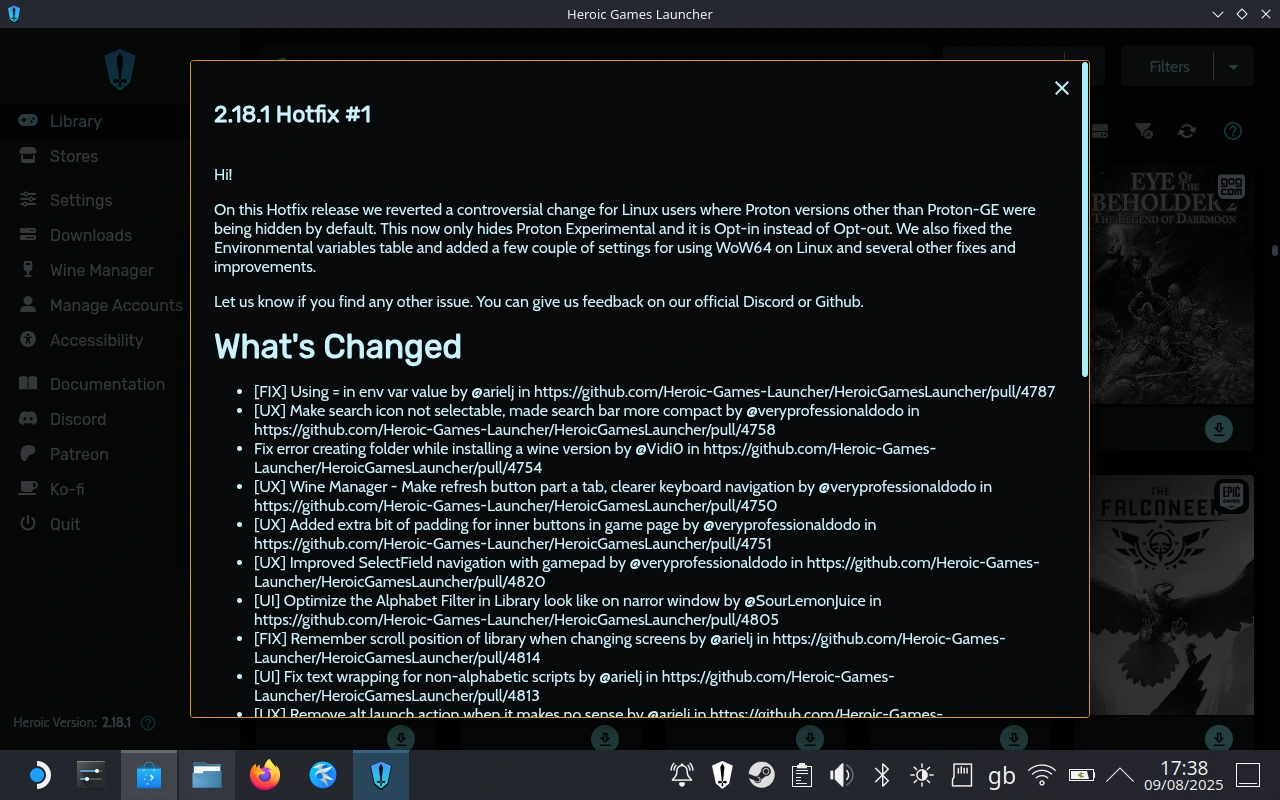
You're likely to get all sorts of guff pop up about how Heroic improves your life, what the most recent changes were and so on. I can't predict what will happen in the future, so check it before closing to continue.
Huh. I've just discovered a slight limitation in Steam Deck screen captures - if you've right-clicked on an icon in the toolbar, to pop up a context-sensitive menu... you can't capture the screen. So... what I want you to do is right-click on the "Heroic Games Launcher" icon in the taskbar (it looks like a blue shield in my screenshot) and then click on "Pin to Task Manager", ready for the next step.
As I did this step for the tutorial I noticed that the backup I restored to was not QUITE as early as I had thought - I actually have my Epic, GOG, and Amazon game stores setup. That shouldn't affect the next step though, and we'll resume from a point where you can run the "Heroic Games Launcher" right from your toolbar :)
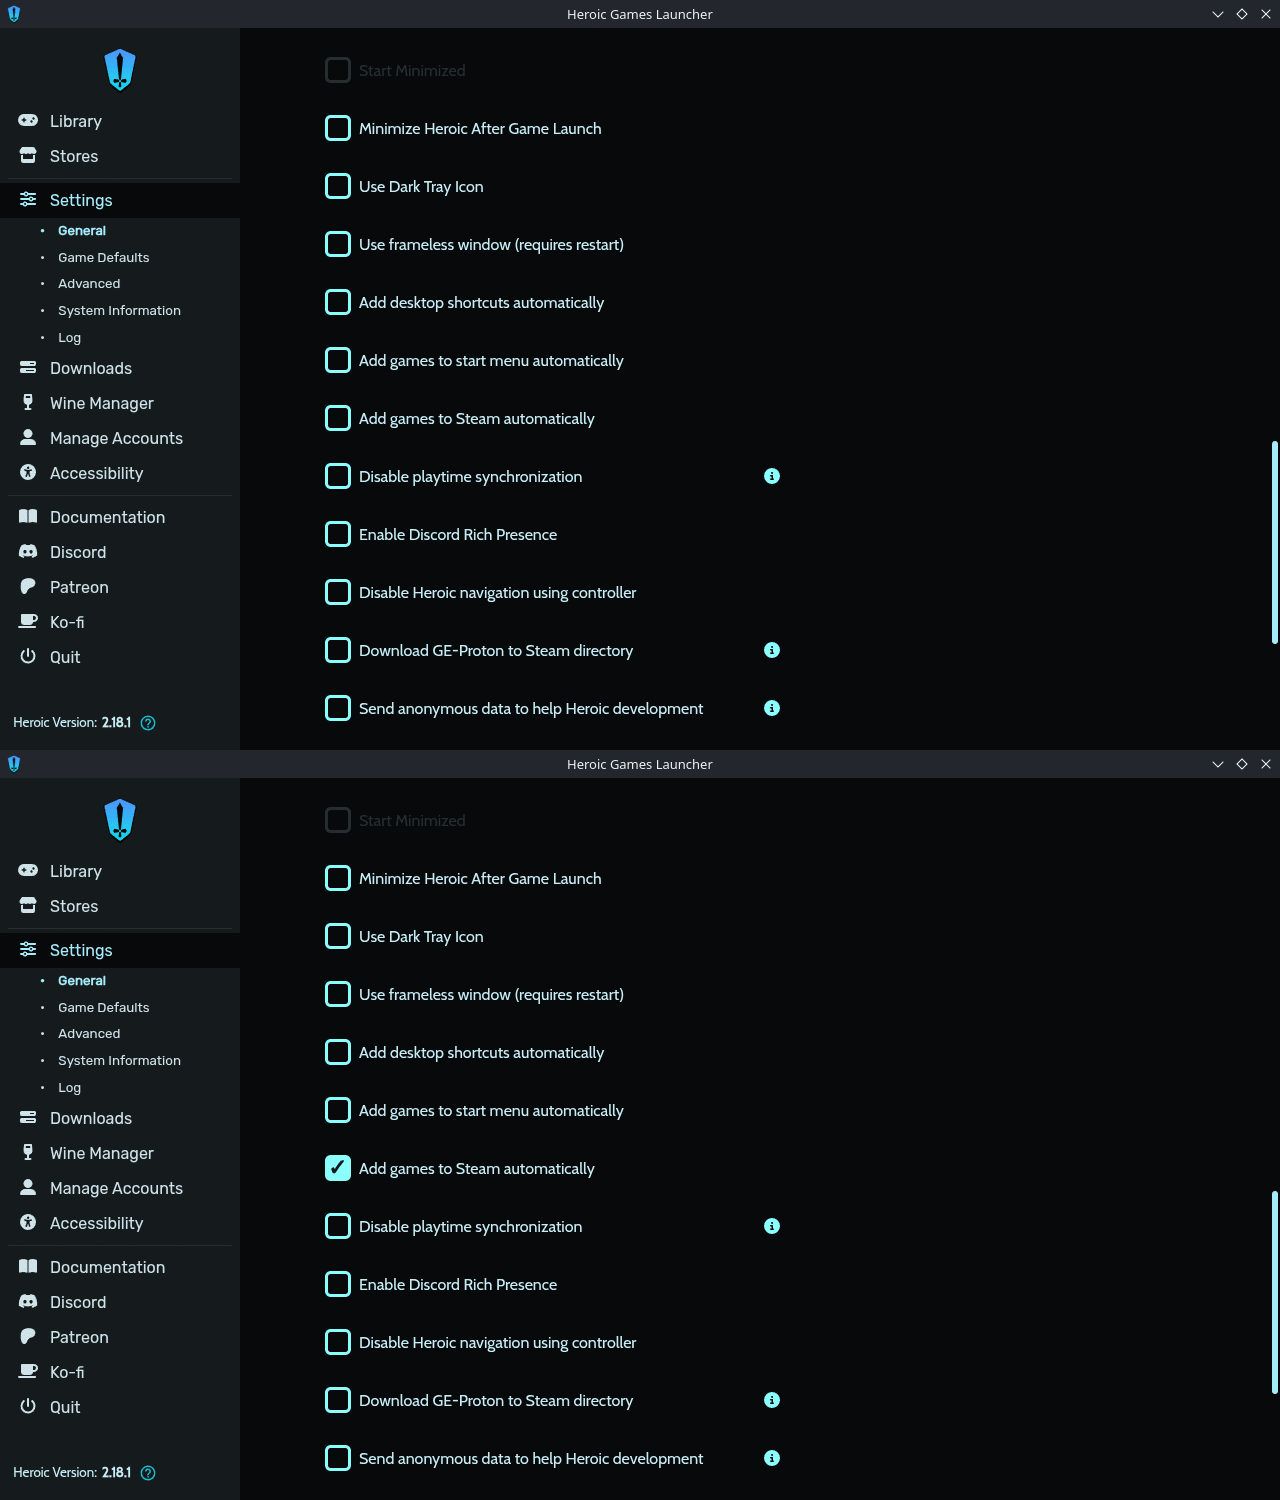
Once you have got past any "splash" information screen, click "Settings" and scroll down until you can see "Add games to Steam automatically". Make sure you have it ticked if you want BeebEm (or any other app) to automatically be added to the Steam interface when you go back to gaming mode!
You can find your own way home from here, can't you?
*I have no affiliation with Benazcap, SanDisk, Amazon, CloneZilla or Rufus besides being a customer/user.